-
k8s--基础--26.3--监控告警系统--prometheus--部署
k8s–基础–26.3–监控告警系统–prometheus–部署
1、创建namespace、sa账号
- 在k8s集群的master节点操作
1.1、创建一个monitor-sa的名称空间
kubectl create ns monitor-sa- 1
1.2、创建一个sa账号
# 在 monitor-sa 名称空间下,创建sa账号,账号名称monitor kubectl create serviceaccount monitor -n monitor-sa- 1
- 2
1.3、把sa账号monitor通过clusterrolebing绑定到clusterrole上
kubectl create clusterrolebinding monitor-clusterrolebinding -n monitor-sa --clusterrole=cluster-admin --serviceaccount=monitor-sa:monitor- 1
- 2
- clusterrolebinding 指定名称空间 monitor-sa
- 创建一个clusterrolebinding,名字叫做monitor-clusterrolebinding
- 将monitor-sa名称空间下的monitor账号通过clusterrole绑定集群角色cluster-admin,这样monitor账号就有了cluster-admin角色的权限。
2、创建数据目录
在k8s集群的任何一个node节点操作,我在node1上操作如下命令:
mkdir -p /monitor/data/ chmod 777 /monitor/data/- 1
- 2
3、安装prometheus
- 在k8s集群的master1节点操作
3.1、创建一个configmap存储卷,用来存放prometheus配置信息
3.1.1、脚本
vi /root/k8s/monitor/prometheus-cfg.yaml- 1
- 2
内容
kind: ConfigMap apiVersion: v1 metadata: # ConfigMap标签 labels: app: prometheus # ConfigMap 的名称 name: prometheus-config # ConfigMap 的名称空间 namespace: monitor-sa data: # yml的文件名称 prometheus.yml: | global: scrape_interval: 15s scrape_timeout: 10s evaluation_interval: 1m scrape_configs: - job_name: 'kubernetes-node' kubernetes_sd_configs: - role: node relabel_configs: - source_labels: [__address__] regex: '(.*):10250' # ${1} 获取第一个参数 replacement: '${1}:9100' target_label: __address__ action: replace - action: labelmap regex: __meta_kubernetes_node_label_(.+) - job_name: 'kubernetes-node-cadvisor' kubernetes_sd_configs: - role: node scheme: https tls_config: ca_file: /var/run/secrets/kubernetes.io/serviceaccount/ca.crt bearer_token_file: /var/run/secrets/kubernetes.io/serviceaccount/token relabel_configs: - action: labelmap regex: __meta_kubernetes_node_label_(.+) - target_label: __address__ replacement: kubernetes.default.svc:443 - source_labels: [__meta_kubernetes_node_name] regex: (.+) target_label: __metrics_path__ # ${1} 获取第一个参数 replacement: /api/v1/nodes/${1}/proxy/metrics/cadvisor - job_name: 'kubernetes-apiserver' kubernetes_sd_configs: - role: endpoints scheme: https tls_config: ca_file: /var/run/secrets/kubernetes.io/serviceaccount/ca.crt bearer_token_file: /var/run/secrets/kubernetes.io/serviceaccount/token relabel_configs: - source_labels: [__meta_kubernetes_namespace, __meta_kubernetes_service_name, __meta_kubernetes_endpoint_port_name] action: keep regex: default;kubernetes;https - job_name: 'kubernetes-service-endpoints' kubernetes_sd_configs: - role: endpoints relabel_configs: - source_labels: [__meta_kubernetes_service_annotation_prometheus_io_scrape] action: keep regex: true - source_labels: [__meta_kubernetes_service_annotation_prometheus_io_scheme] action: replace target_label: __scheme__ regex: (https?) - source_labels: [__meta_kubernetes_service_annotation_prometheus_io_path] action: replace target_label: __metrics_path__ regex: (.+) - source_labels: [__address__, __meta_kubernetes_service_annotation_prometheus_io_port] action: replace target_label: __address__ regex: ([^:]+)(?::\d+)?;(\d+) # 获取第1个参数,获取第2个参数 replacement: $1:$2 - action: labelmap regex: __meta_kubernetes_service_label_(.+) - source_labels: [__meta_kubernetes_namespace] action: replace target_label: kubernetes_namespace - source_labels: [__meta_kubernetes_service_name] action: replace target_label: kubernetes_name- 1
- 2
- 3
- 4
- 5
- 6
- 7
- 8
- 9
- 10
- 11
- 12
- 13
- 14
- 15
- 16
- 17
- 18
- 19
- 20
- 21
- 22
- 23
- 24
- 25
- 26
- 27
- 28
- 29
- 30
- 31
- 32
- 33
- 34
- 35
- 36
- 37
- 38
- 39
- 40
- 41
- 42
- 43
- 44
- 45
- 46
- 47
- 48
- 49
- 50
- 51
- 52
- 53
- 54
- 55
- 56
- 57
- 58
- 59
- 60
- 61
- 62
- 63
- 64
- 65
- 66
- 67
- 68
- 69
- 70
- 71
- 72
- 73
- 74
- 75
- 76
- 77
- 78
- 79
- 80
- 81
- 82
- 83
- 84
- 85
- 86
- 87
注意:通过上面命令生成的promtheus-cfg.yaml文件会有一些问题,$1和$2这种变量在文件里没有,需要在k8s的master1节点打开promtheus-cfg.yaml文件,手动把$1和$2这种变量写进文件里。
3.1.2、执行
kubectl apply -f /root/k8s/monitor/prometheus-cfg.yaml # 查看 kubectl get ConfigMap -n monitor-sa- 1
- 2
- 3
- 4
- 5
- 6

3.2、部署prometheus
3.2.1、脚本
vi /root/k8s/monitor/prometheus-deploy.yaml- 1
- 2
内容
apiVersion: apps/v1 kind: Deployment metadata: # Deployment 名称 name: prometheus-server # Deployment 名称空间 namespace: monitor-sa # Deployment 标签 labels: app: prometheus spec: replicas: 1 # 标签选择器,选择对应标签的模板 selector: matchLabels: app: prometheus component: server #matchExpressions: #- {key: app, operator: In, values: [prometheus]} #- {key: component, operator: In, values: [server]} # 定义模板 template: metadata: # 定义标签 labels: app: prometheus component: server # 定义注解 annotations: prometheus.io/scrape: 'false' spec: # pod运行的节点 # k8s集群的哪个node节点创建/monitor/data,就让pod调度到哪个节点。 nodeName: node1 # 使用的SA账号 serviceAccountName: monitor # 定义容器 containers: # 容器名称 - name: prometheus # 镜像地址 image: prom/prometheus:v2.2.1 # 镜像拉取策略 imagePullPolicy: IfNotPresent # 如果命令存在就使用这个命令,不使用容器的ENTRYPOINT命令 # 也就是启动容器的命令 command: - prometheus - --config.file=/etc/prometheus/prometheus.yml - --storage.tsdb.path=/prometheus - --storage.tsdb.retention=720h # 配置端口 ports: - containerPort: 9090 protocol: TCP volumeMounts: - mountPath: /etc/prometheus/prometheus.yml name: prometheus-config subPath: prometheus.yml - mountPath: /prometheus/ name: prometheus-storage-volume # 设置存储卷 volumes: # 存储卷名称 - name: prometheus-config # configMap类型的挂载 configMap: # 使用名称为prometheus-config的configMap name: prometheus-config items: # 使用名称为prometheus.yml的配置文件 - key: prometheus.yml path: prometheus.yml mode: 0644 # 存储卷名称 - name: prometheus-storage-volume # hostPath存储卷 hostPath: path: /monitor/data type: Directory- 1
- 2
- 3
- 4
- 5
- 6
- 7
- 8
- 9
- 10
- 11
- 12
- 13
- 14
- 15
- 16
- 17
- 18
- 19
- 20
- 21
- 22
- 23
- 24
- 25
- 26
- 27
- 28
- 29
- 30
- 31
- 32
- 33
- 34
- 35
- 36
- 37
- 38
- 39
- 40
- 41
- 42
- 43
- 44
- 45
- 46
- 47
- 48
- 49
- 50
- 51
- 52
- 53
- 54
- 55
- 56
- 57
- 58
- 59
- 60
- 61
- 62
- 63
- 64
- 65
- 66
- 67
- 68
- 69
- 70
- 71
- 72
- 73
- 74
- 75
- 76
- 77
- 78
- 79
- 80
3.2.2、执行
kubectl apply -f /root/k8s/monitor/prometheus-deploy.yaml # 查看 kubectl get Deployment -n monitor-sa kubectl get pods -n monitor-sa -o wide- 1
- 2
- 3
- 4
- 5
- 6
- 7

3.3、给prometheus pod 创建一个service
- 可以实现负载均衡
- 可以通过浏览器访问
3.3.1、脚本
vi /root/k8s/monitor/prometheus-svc.yaml- 1
- 2
内容
apiVersion: v1 kind: Service metadata: # Service名称 name: prometheus # Service 名称空间 namespace: monitor-sa # Service 标签 labels: app: prometheus spec: # 让浏览器可以访问 type: NodePort # 定义端口 ports: - port: 9090 targetPort: 9090 protocol: TCP # 设置对应pod的标签 selector: app: prometheus component: server- 1
- 2
- 3
- 4
- 5
- 6
- 7
- 8
- 9
- 10
- 11
- 12
- 13
- 14
- 15
- 16
- 17
- 18
- 19
- 20
- 21
- 22
3.3.2、执行
kubectl apply -f /root/k8s/monitor/prometheus-svc.yaml # 查看 kubectl get svc -n monitor-sa- 1
- 2
- 3
- 4
- 5
- 6

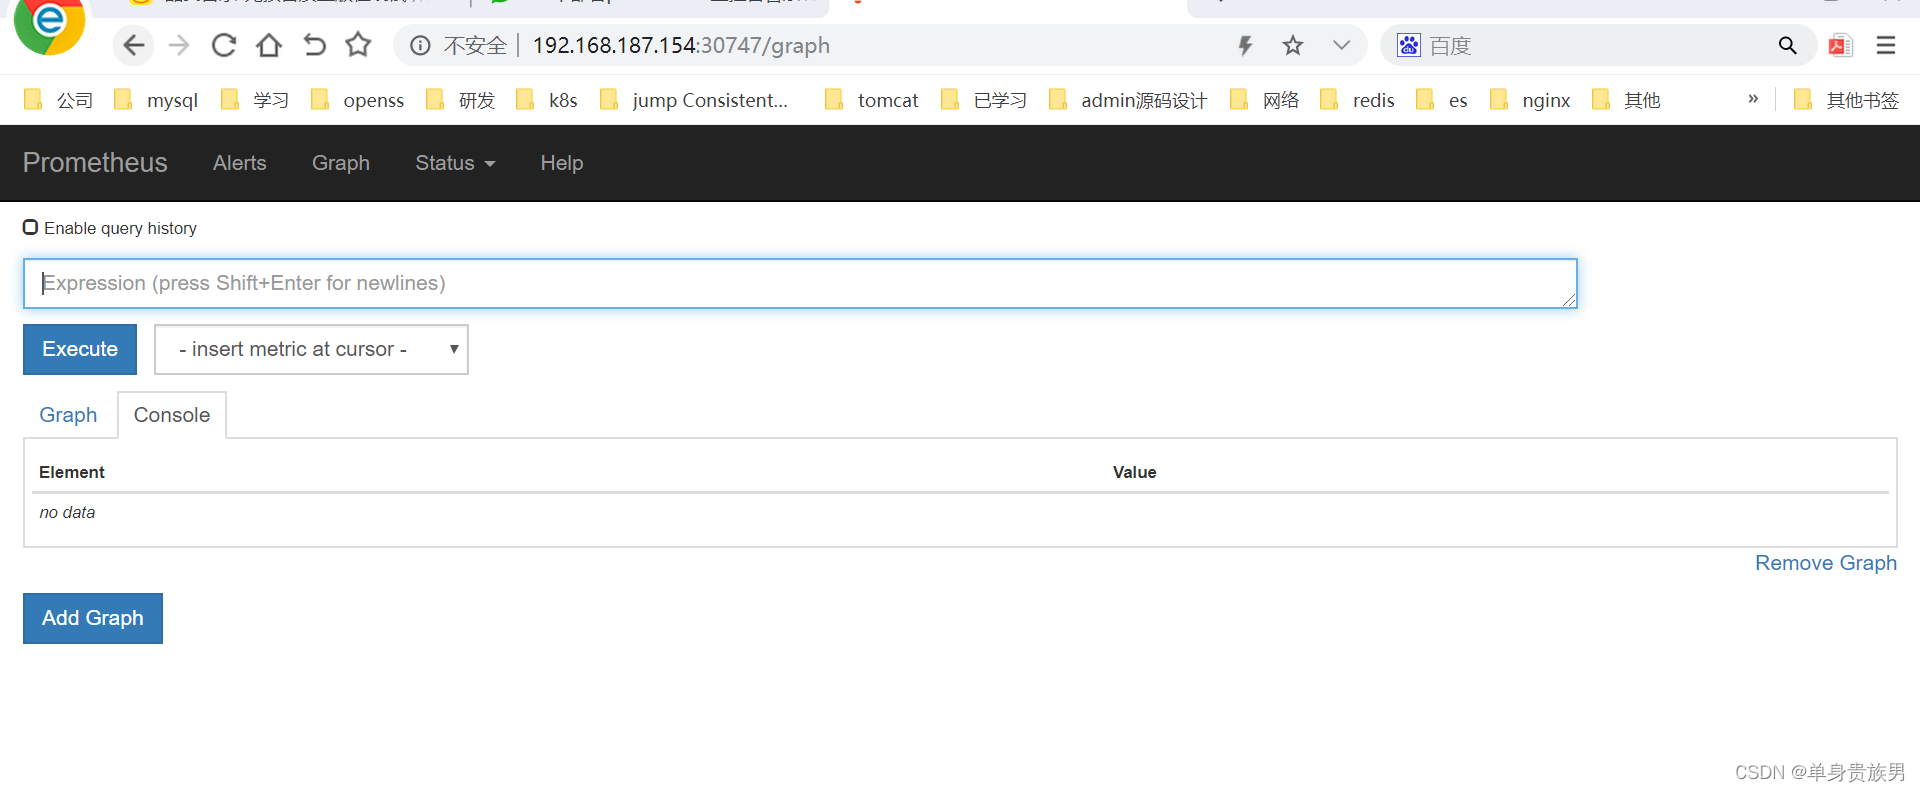
4、测试
http://192.168.187.154:30747/graph- 1
-
相关阅读:
什么是残差网络结构
惹恼开源社区!微软道歉:恢复 .NET SDK 热重载功能
【C++杂货铺】一文带你走进哈希:哈希冲突 | 哈希函数 | 闭散列 | 开散列
技术分享 | my2sql 与 binlog2sql 解析效率 battle
【EFK】基于K8S构建EFK+logstash+kafka日志平台
ping多个IP的工具
用C++递归lambda重写二叉树的生成与遍历完整程序
[LeetCode解题报告] 30. 串联所有单词的子串
柱状图 kate
【Java集合框架】14——LinkedHashSet 类
- 原文地址:https://blog.csdn.net/zhou920786312/article/details/126244212
