-
Vue中的query传参和动态路由传参
query传参
2种传参:
1、go
2、this.$router.push({path:"/xx",query:{name:"karen",pwd:123}})//在路由匹配的组件中获取数据:
mounted(){let queryObj=this.$route.query}动态路由传参
设计:
const router=new VueRouter({
routes:[
{path:"/home/:id",component:()=>import("./home.vue")},
{path:"/about",component:()=>import("./about.vue")}]
})
2种传参:
go
this.$router.push({path:"/home",params:{id:123}})
// 如果提供了 path,params 会被忽略,上述例子中的 query 并不属于这种情况。取而代之的是下面例子的做法,你需要提供路由的 name 或手写完整的带有参数的 path:
//在路由匹配的组件中获取数据:
mounted(){let paramsObj=this.$route.params}案例
路由代码:
- import Vue from 'vue'
- import VueRouter from 'vue-router'
- import HomeView from '../views/HomeView.vue'
- Vue.use(VueRouter)
- const routes = [
- {
- path: '/',
- name: 'home',
- component: HomeView
- },
- {
- path: '/test1/:id', //动态路由
- name: 'test1',
- component: () => import('../views/test1View.vue')
- },
- {
- path:'/test2',
- name:'test2',
- component:()=>import('../views/test2View.vue')
- }
- ]
- const router = new VueRouter({
- routes
- })
- export default router
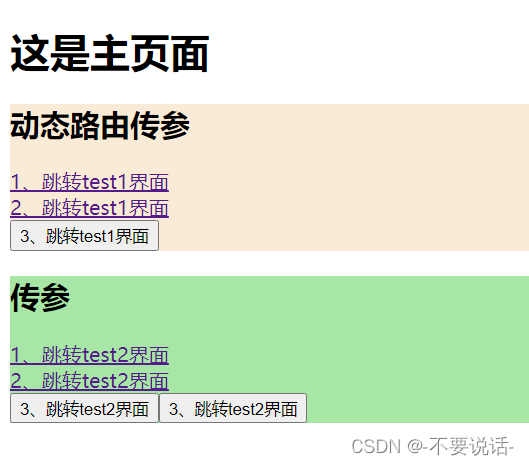
主界面代码:
- <div>
- <h1>这是主页面h1>
- <div class="test1">
- <h2>动态路由传参h2>
- <router-link to="/test1/999&111">1、跳转test1界面router-link>
- <br />
- <router-link :to="{path:'/test1/666'}">2、跳转test1界面router-link>
- <br />
- <button @click="link1(555)">3、跳转test1界面button>
- div>
- <div class="test2">
- <h2>传参h2>
- <router-link to="/test2?id=123456&pwd=abc123">1、跳转test2界面router-link>
- <br />
- <router-link :to="{path:'/test2',query:{a:1000,b:200}}">2、跳转test2界面router-link>
- <br />
- <button @click="link2(730,3502)">3、跳转test2界面button>
- <button @click="link3(187,7414)">3、跳转test2界面button>
- div>
- div>
- <script>
- export default {
- name: 'HomeView',
- methods: {
- link1(arg) {
- this.$router.push(`/test1/${arg}`)
- },
- link2(arg1,arg2) {
- this.$router.push(`/test2?a=${arg1}&b=${arg2}`)
- },
- link3(arg1,arg2) {
- this.$router.push({path:'/test2',query:{a:arg1,b:arg2}})
- }
- }
- }
- script>
- <style lang="css" scoped>
- .test1 {
- background-color: antiquewhite;
- }
- .test2 {
- background-color: rgb(167, 230, 164);
- }
- style>
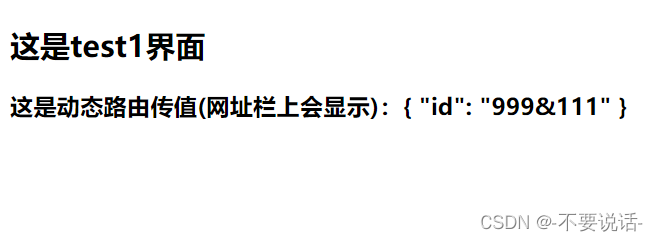
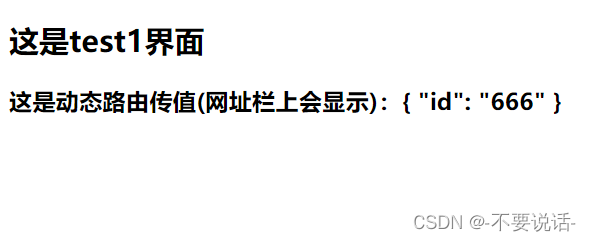
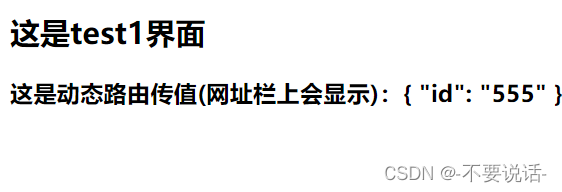
test1界面代码
- <div>
- <h2>这是test1界面h2>
- <h3>这是动态路由传值(网址栏上会显示):{{msg}}h3>
- div>
- <script>
- export default {
- name: 'VueTest1View',
- data() {
- return {
- msg:""
- };
- },
- mounted() {
- console.log(this.$route.params.id) //params去接收
- this.msg=this.$route.params
- },
- methods: {
- },
- };
- script>
- <style lang="sass" scoped>
- style>
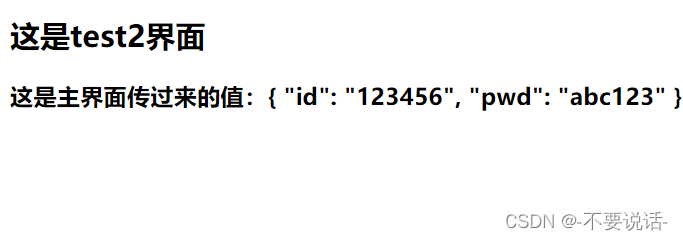
test2界面代码
- <div>
- <h2>这是test2界面h2>
- <h3>这是主界面传过来的值:{{msg}}h3>
- div>
- <script>
- export default {
- name: 'VueTst2View',
- data() {
- return {
- msg:""
- };
- },
- mounted() {
- console.log(this.$route)
- this.msg=this.$route.query //将传入的值保存起来
- },
- methods: {
- },
- };
- script>
- <style lang="sass" scoped>
- style>
效果图:
分别点击动态路由传参的各个链接得到的结果为
1、
2、
3、
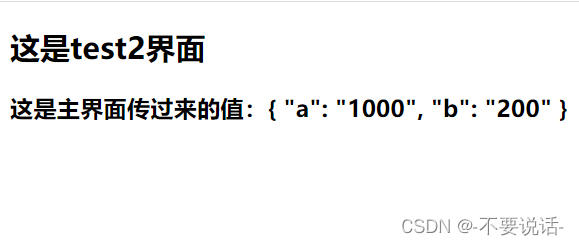
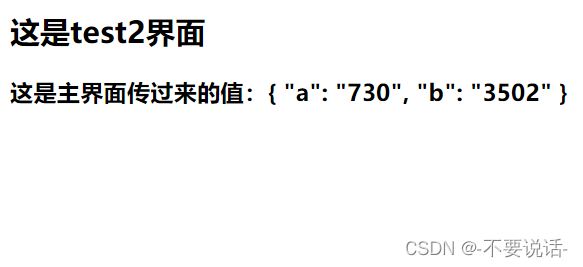
分别点击query传参传参的各个链接得到的结果为
1、
2、
3、
4、

-
相关阅读:
glog与pugi::xml使用方法
H264基本原理
VL600威锋typeC 转HDMI转接单芯片方案,支持DP1.4两LANE实现4K60,
Windows 11 Ubuntu子系统所在磁盘位置、访问windows磁盘、另一个程序正在使用文件进程无法访问解决方法
Leetcode周赛368补题(3 / 3)
【vue】下拉、上拉刷新
Minifilter过滤驱动与R3程序通讯实现文件保护
隧道代理 vs 普通代理:哪种更适合您的爬虫应用?
mac 中配置idea自带maven环境变量
Bootstrap-栅格实例(二)
- 原文地址:https://blog.csdn.net/m0_63470734/article/details/126820080
