-
TensorFlow安装步骤
环境:Win10,Python 3.8,Anaconda
电脑:GeForce RTX 2060, NVIDIA CUDA 11.1.4
官方教程:在 Windows 上安装 TensorFlow1. 下载安装cuda和cudnn
1.1 下载
在官网上下载对应的cuda和cudnn,版本可以低于但不能高于电脑支持的版本
cuda下载地址:cuda-toolkit-archive
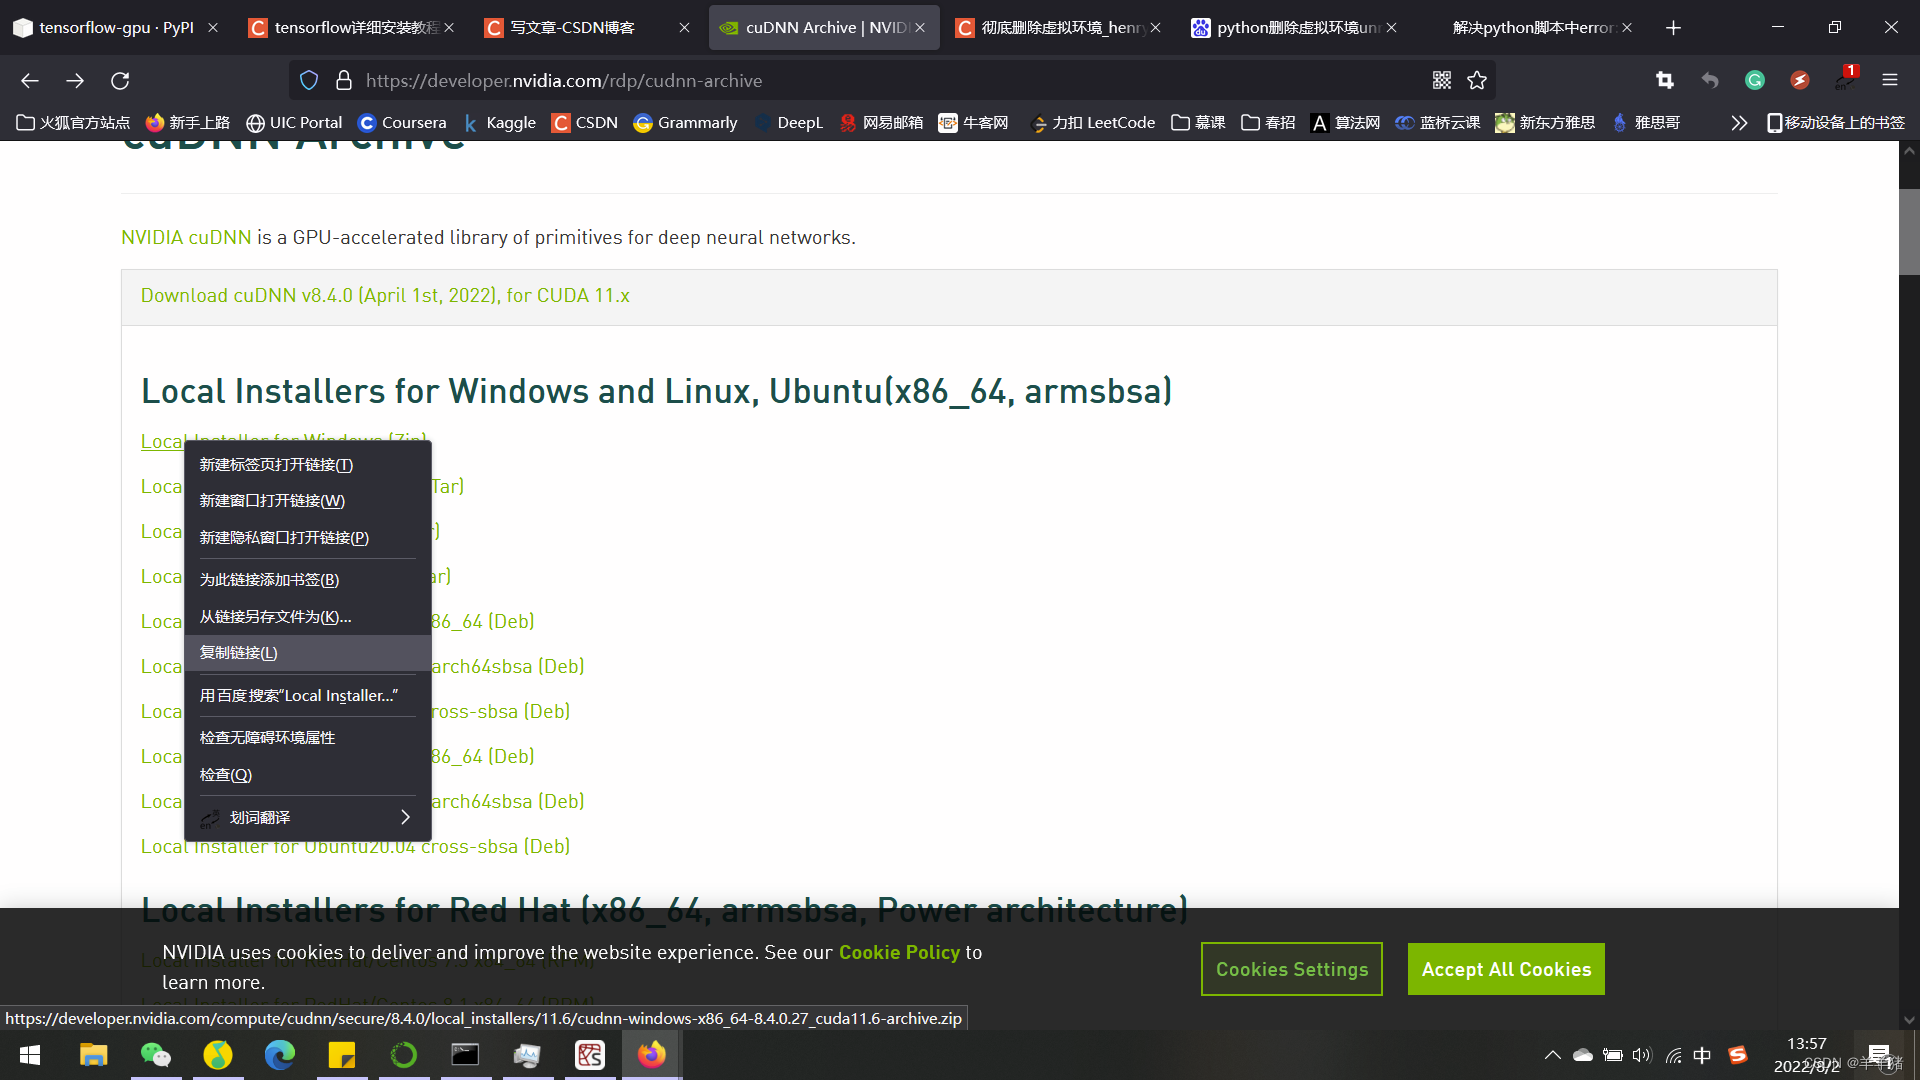
cudnn下载地址:cudnn-archive常见问题: 下载cudnn的时候有提示:NVIDIA Developer Program Membership Required
解决方法: 右键选择【复制链接地址】,把链接复制到迅雷下载器或其他下载软件进行下载
1.2 安装
CUDA安装:选自定义安装→默认安装路径→安装结束
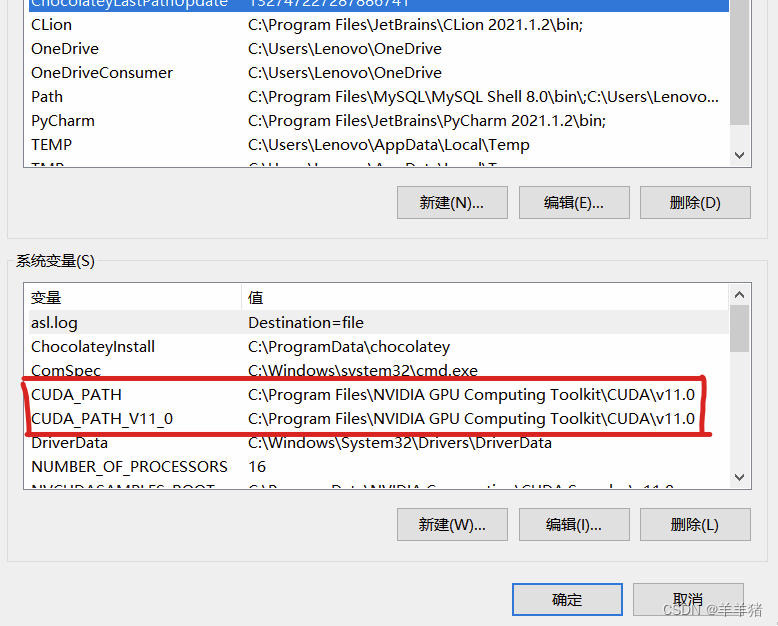
安装完成后,会默认生成两个系统变量。
系统变量查看:此电脑→右键选属性→高级系统设置→环境变量→系统变量
CuDNN安装
解压→将三个文件夹复制到cuda的安装目录下,直接选择覆盖文件就可以。

安装完了,测试cuda版本。
打开cmd,输入指令:nvcc -V

2. 创建 tensorflow 环境
2.1 创建 tensorflow 环境
conda create -n tensorflow python=3.8- 1
常见问题
ERROR:Collecting package metadata (current——repodata.json): failed
我的解决方法:将C:\Users\Lenovo下的.condarc文件作如下修改(这里修改一下自己的路径)ssl_verify: true channels: - http://mirrors.tuna.tsinghua.edu.cn/anaconda/pkgs/free/win-64/ - http://mirrors.tuna.tsinghua.edu.cn/anaconda/pkgs/main/win-64 show_channel_urls: true- 1
- 2
- 3
- 4
- 5

2.2 查看环境,可以看到环境已创建**
conda env list- 1

2.3 进入环境
activate tensorflow- 1

进入具体路径# 这里换成自己的具体路径 >cd C:\Users\Lenovo\anaconda3\envs\tensorflow- 1
- 2

2.4 安装默认版本的tensorflow-cpu或者tensorflow-gpu。
安装tensorflow-cpu版本的,可以输入命令:pip install --ignore-installed --upgrade tensorflow
安装tensorflow-gpu版本的,可以输入命令:pip install --ignore-installed --upgrade tensorflow-gpu

常见问题
1 网速问题
解决方法:直接去网站下载需要的文件(自己电脑下载的是哪个文件就下载哪个文件,我的是tensorflow_gpu-2.9.1-cp38-cp38-win_amd64.whl)
网址 tensorflow-gpu 2.9.1 ,下载文件放到自己的tensorflow的目录下。
输入命令:pip install tensorflow_gpu-2.9.1-cp38-cp38-win_amd64.whl

2 ERROR: Could not find a version that satisfies the requirement XXX
解决方法:直接选用pip源并且信任它的来源就可以解决这种问题pip install tensorflow_gpu-2.9.1-cp38-cp38-win_amd64.whl -i http://pypi.douban.com/simple/ --trusted-host pypi.douban.com- 1
2.5 查看 tensorflow 版本信息及退出
查看 tensorflow 版本
输入命令:pip show tensorflow-gpu,可以查看tensorflow的版本信息

退出 tensorflow 环境conda deactivate tensorflow- 1
3. 测试 TensorFlow-gpu 是否安装成功
打开Anaconda,选择tensorflow环境,打开spyder,第一次打开需要安装Spyder,直接点下方的install即可。

测试代码import tensorflow as tf a = tf.constant(1.) b = tf.constant(2.) print(a+b) print(tf.__version__) print(tf.test.gpu_device_name()) print('GPU:',tf.config.list_physical_devices(device_type='GPU')) print('CPU:',tf.config.list_physical_devices(device_type='CPU')) print(tf.test.is_gpu_available())- 1
- 2
- 3
- 4
- 5
- 6
- 7
- 8
- 9
常见问题
Could not load dynamic library ‘cusolver64_11.dll‘; dlerror: cusolver64_11.dll not found
解决方法:
链接:https://pan.baidu.com/s/1W9fR2N_hoVD-7_ODtOiJhg
提取码:u65i
下载文件,把文件cusolver64_11.dll添加到创建的环境\Library\bin中

运行代码

安装完成
3. 测试速度
import tensorflow as tf import timeit #指定在cpu上运行 def cpu_run(): with tf.device('/cpu:0'): cpu_a = tf.random.normal([10000, 1000]) cpu_b = tf.random.normal([1000, 2000]) cpu_c = tf.matmul(cpu_a, cpu_b) # print( "cpu_a: ", cpu_a.device) # print( "cpu_b: ", cpu_b.device) # print("cpu_c:", cpu_c.device) return cpu_c #指定在gpu上运行 def gpu_run(): with tf.device( '/gpu:0'): gpu_a = tf.random.normal([ 10000,1000]) gpu_b = tf.random.normal([ 1000, 2000]) gpu_c = tf.matmul(gpu_a, gpu_b) # print( "gpu_a: ", gpu_a.device) # print("gpu_b: ", gpu_b.device) # print("gpu_c: ", gpu_c.device) return gpu_c cpu_time = timeit.timeit(cpu_run, number = 10) gpu_time = timeit.timeit(gpu_run, number = 10) print('cpu:',cpu_time, 'gpu:',gpu_time)- 1
- 2
- 3
- 4
- 5
- 6
- 7
- 8
- 9
- 10
- 11
- 12
- 13
- 14
- 15
- 16
- 17
- 18
- 19
- 20
- 21
- 22
- 23
- 24
- 25
- 26
- 27
- 28

速度还是快不少的
参考来源:
tensorflow详细安装教程(Win10, Anaconda,Python3.9)
绕过Nvidia官方要求的注册或登陆步骤直接下载cuDNN的方法
详解Anaconda安装tensorflow报错问题解决方法
anaconda3创建虚拟环境时出现问题:Collecting package metadata (current——repodata.json): failed -
相关阅读:
File 与 MultipartFile概述
计算机毕业设计Java东软在线学习平台(源码+系统+mysql数据库+lw文档)
创建vue3项目并引用elementui
MODBUS协议下,能否实现MCGS触摸屏与FX5U之间无线通讯?
“之江创客”聚焦农村电商创新发展 扎实助推共同富裕
Google Earth Engine ——neighborhoodToBands函数的使用
E047-论坛漏洞分析及利用-针对Wordpress论坛进行信息收集与漏洞扫描的探索
多测师肖sir_高级金牌讲师_python之作业006
【飞桨PaddleSpeech语音技术课程】— 声纹检索系统与实践
JAVA毕业设计课设源码分享50+例
- 原文地址:https://blog.csdn.net/weixin_46599926/article/details/126112748
