-
jetpac--navigation
Navigation 是一个框架,用于在 Android 应用中的“目的地”之间导航,该框架提供一致的 API,无论目的地是作为 fragment、activity 还是其他组件实现。也就是说,navigation 就是通过一个activity管理多个fragment。


二、代码实现(kotlin)
需要添加的依赖库:// navigation的依赖支持 /* def nav_version = '1.0.0-alpha01' implementation "android.arch.navigation:navigation-fragment:$nav_version" implementation "android.arch.navigation:navigation-ui:$nav_version" */ def nav_version = "2.3.2" // Java language implementation implementation "androidx.navigation:navigation-fragment:$nav_version" implementation "androidx.navigation:navigation-ui:$nav_version"- 1
- 2
- 3
- 4
- 5
- 6
- 7
- 8
- 9
- 10
- 11
步骤1:新建MainActivit.kt,Fragment.kt,Fragment.xml
代码省略,最后一并写。步骤2:新建导航图
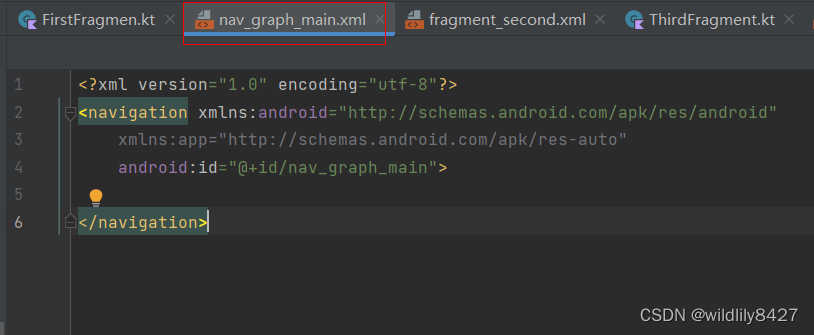
1、创建nv_graph_main.xml文件

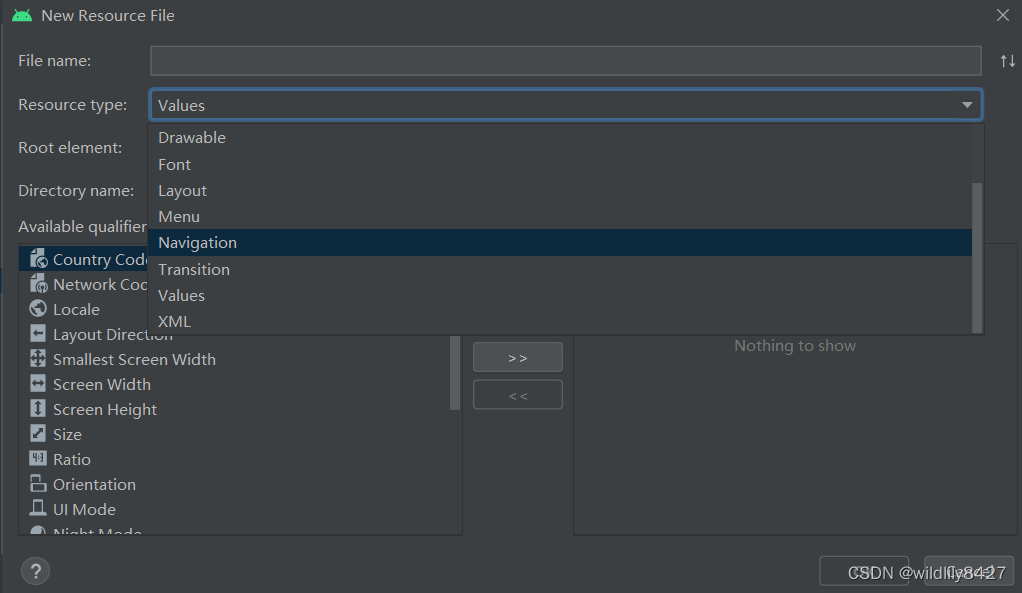


2、在nav_graph_main.xml文件中编辑fragment导航逻辑
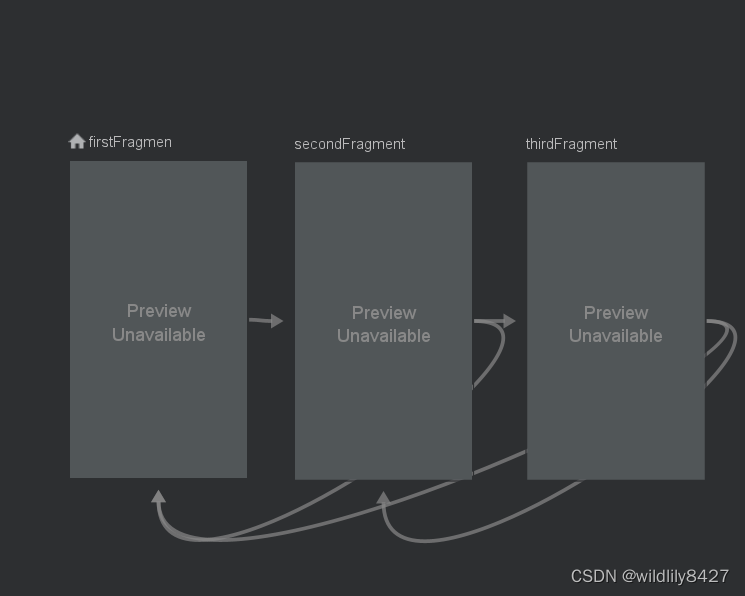
我的逻辑是
fragmentFirst->fragmentSecond;fragmentFirst < - fragmentSecond ->fragmentThird;fragmentFirst < -fragmentSecond< -fragmentThird

按照导航逻辑,完成导航图,如下:
同时生成相关代码:<?xml version="1.0" encoding="utf-8"?> <navigation xmlns:android="http://schemas.android.com/apk/res/android" xmlns:app="http://schemas.android.com/apk/res-auto" android:id="@+id/nav_graph_main" app:startDestination="@id/firstFragmen"> <!--startDestination :默认显示的第一个fragment--> <!--FirstFragmen 跳转逻辑。action标签 表示 跳转的目的Fragment--> <fragment android:id="@+id/firstFragmen" android:name="com.test.navigationkotlin.FirstFragmen" android:label="FirstFragmen" > <action android:id="@+id/action_firstFragmen_to_secondFragment" app:destination="@id/secondFragment" /> </fragment> <!--SecondFragment 跳转逻辑。action标签 表示 跳转的目的Fragment--> <fragment android:id="@+id/secondFragment" android:name="com.test.navigationkotlin.SecondFragment" android:label="SecondFragment" > <action android:id="@+id/action_secondFragment_to_thirdFragment" app:destination="@id/thirdFragment" /> <action android:id="@+id/action_secondFragment_to_firstFragmen" app:destination="@id/firstFragmen" /> </fragment> <!--ThirdFragment 跳转逻辑。action标签 表示 跳转的目的Fragment--> <fragment android:id="@+id/thirdFragment" android:name="com.test.navigationkotlin.ThirdFragment" android:label="ThirdFragment" > <action android:id="@+id/action_thirdFragment_to_secondFragment" app:destination="@id/secondFragment" /> <action android:id="@+id/action_thirdFragment_to_firstFragmen" app:destination="@id/firstFragmen" /> </fragment> </navigation>- 1
- 2
- 3
- 4
- 5
- 6
- 7
- 8
- 9
- 10
- 11
- 12
- 13
- 14
- 15
- 16
- 17
- 18
- 19
- 20
- 21
- 22
- 23
- 24
- 25
- 26
- 27
- 28
- 29
- 30
- 31
- 32
- 33
- 34
- 35
- 36
- 37
- 38
- 39
- 40
- 41
- 42
- 43
步骤3:在fragment.kt文件添加按钮的点击事件
// 以SecondFragment为例,另外两个省略 package com.test.navigationkotlin import android.os.Bundle import android.view.LayoutInflater import android.view.View import android.view.ViewGroup import android.widget.Button import androidx.fragment.app.Fragment import androidx.navigation.Navigation class SecondFragment : Fragment() { override fun onCreateView(inflater: LayoutInflater, container: ViewGroup?, savedInstanceState: Bundle?): View? { return inflater.inflate(R.layout.fragment_second,container,false) } override fun onViewCreated(view: View, savedInstanceState: Bundle?) { super.onViewCreated(view, savedInstanceState) val btToFirstFragmen = view.findViewById<Button>(R.id.bt_tofirst) btToFirstFragmen.setOnClickListener { // 由于从Fragmnet2 返回到fragment1,也可以使用下面的方法 // view->Navigation.findNavController(view).navigate(R.id.action_secondFragment_to_firstFragmen) view->Navigation.findNavController(view).navigateUp() } val btToThirdFragmen = view.findViewById<Button>(R.id.bt_tothird) btToThirdFragmen.setOnClickListener { view->Navigation.findNavController(view).navigate(R.id.action_secondFragment_to_thirdFragment) } } }- 1
- 2
- 3
- 4
- 5
- 6
- 7
- 8
- 9
- 10
- 11
- 12
- 13
- 14
- 15
- 16
- 17
- 18
- 19
- 20
- 21
- 22
- 23
- 24
- 25
- 26
- 27
- 28
- 29
- 30
- 31
- 32
- 33
- 34
步骤4:修改activiy_main.xml,添加NavHostFragmet
<?xml version="1.0" encoding="utf-8"?> <LinearLayout xmlns:android="http://schemas.android.com/apk/res/android" xmlns:app="http://schemas.android.com/apk/res-auto" android:layout_width="match_parent" android:layout_height="match_parent" android:orientation="vertical"> <!-- 1、标签:androidx.fragment.app.FragmentContainerView ,fragment 2、android:name="androidx.navigation.fragment.NavHostFragment" 这句必须有 3、app:defaultNavHost="true" 屏蔽徐通back 4、app:naveGraph="@navigation/nav_graph_main" NavHostFragment关联导航表 --> <androidx.fragment.app.FragmentContainerView android:id="@+id/nav_host_fragment_main" android:layout_width="match_parent" android:layout_height="wrap_content" android:name="androidx.navigation.fragment.NavHostFragment" app:defaultNavHost="true" app:navGraph="@navigation/nav_graph_main"> </androidx.fragment.app.FragmentContainerView> </LinearLayout>- 1
- 2
- 3
- 4
- 5
- 6
- 7
- 8
- 9
- 10
- 11
- 12
- 13
- 14
- 15
- 16
- 17
- 18
- 19
- 20
- 21
- 22
- 23
- 24
步骤5: 修改MainActivity.kt 把navHosFragment附加到MainActivity上
<?xml version="1.0" encoding="utf-8"?> <LinearLayout xmlns:android="http://schemas.android.com/apk/res/android" xmlns:app="http://schemas.android.com/apk/res-auto" android:layout_width="match_parent" android:layout_height="match_parent" android:orientation="vertical"> <!-- 1、标签:androidx.fragment.app.FragmentContainerView ,fragment 2、android:name="androidx.navigation.fragment.NavHostFragment" 这句必须有 3、app:defaultNavHost="true" 屏蔽徐通back 4、app:naveGraph="@navigation/nav_graph_main" NavHostFragment关联导航表 --> <androidx.fragment.app.FragmentContainerView android:id="@+id/nav_host_fragment_main" android:layout_width="match_parent" android:layout_height="wrap_content" android:name="androidx.navigation.fragment.NavHostFragment" app:defaultNavHost="true" app:navGraph="@navigation/nav_graph_main"> </androidx.fragment.app.FragmentContainerView> </LinearLayout>- 1
- 2
- 3
- 4
- 5
- 6
- 7
- 8
- 9
- 10
- 11
- 12
- 13
- 14
- 15
- 16
- 17
- 18
- 19
- 20
- 21
- 22
- 23
- 24
三、使用BottomNavigationView組件添加底底部导航栏
步骤1:activity_main.xml添加布局
<!--手动添加底部导航栏--> <com.google.android.material.bottomnavigation.BottomNavigationView android:id="@+id/bottom_navigation_view" android:layout_width="match_parent" android:layout_height="wrap_content" android:layout_marginTop="200dp" app:itemTextColor="@color/black" app:menu="@menu/menu_bottom"> </com.google.android.material.bottomnavigation.BottomNavigationView>- 1
- 2
- 3
- 4
- 5
- 6
- 7
- 8
- 9
- 10
步骤2:添加menu.xml文件
在/layout/menu/ 下添加menu.xml<?xml version="1.0" encoding="utf-8"?> <menu xmlns:android="http://schemas.android.com/apk/res/android"> <item android:id="@+id/firstFragmen" android:icon="@mipmap/ic_launcher" android:title="第一页" /> <item android:id="@+id/secondFragment" android:icon="@mipmap/ic_launcher" android:title="第二页" /> <item android:id="@+id/thirdFragment" android:icon="@mipmap/ic_launcher" android:title="第三页" /> </menu>- 1
- 2
- 3
- 4
- 5
- 6
- 7
- 8
- 9
- 10
- 11
- 12
- 13
- 14
- 15
- 16
- 17
注意,,注意,,注意 这里每一个item android:id 必须与nav_graph_main.xml中每个fragment的android:id相同。否在,点击对应的item,fragment不会跳转
步骤3:修改MainActivity.kt,绑定底部状态栏
package com.test.navigationkotlin import android.os.Bundle import android.util.Log import androidx.appcompat.app.AppCompatActivity import androidx.navigation.Navigation import androidx.navigation.findNavController import androidx.navigation.fragment.NavHostFragment import androidx.navigation.ui.AppBarConfiguration import androidx.navigation.ui.NavigationUI import androidx.navigation.ui.setupActionBarWithNavController import androidx.navigation.ui.setupWithNavController import com.google.android.material.bottomnavigation.BottomNavigationView class MainActivity : AppCompatActivity() { var bottomNavigationView : BottomNavigationView ?= null override fun onCreate(savedInstanceState: Bundle?) { super.onCreate(savedInstanceState) setContentView(R.layout.activity_main) // 获取navHostFragment val navHostFragment = supportFragmentManager.findFragmentById(R.id.nav_host_fragment_main) as NavHostFragment? // 获取NavController val control = navHostFragment!!.navController // 手动添加底部导航栏 bottomNavigationView = findViewById(R.id.bottom_navigation_view) if (control != null) { NavigationUI.setupWithNavController(bottomNavigationView!!, control) } } }- 1
- 2
- 3
- 4
- 5
- 6
- 7
- 8
- 9
- 10
- 11
- 12
- 13
- 14
- 15
- 16
- 17
- 18
- 19
- 20
- 21
- 22
- 23
- 24
- 25
- 26
- 27
- 28
- 29
- 30
- 31
- 32
- 33
- 34
- 35
- 36
- 37
- 38
- 39
- 40
-
相关阅读:
Python 工匠 第九章 面向对象
ubuntu OCR 脚本
关爱2700多万听障者,手语服务助力无声交流
2609. 最长平衡子字符串 --力扣 --JAVA
java反射,注解,动态代理学习(黑马程序员)
[附源码]java毕业设计基于web的硕士研究生入学考务管理
Redis典型应用之缓存
这才是程序员未来的工作模式!
来可LCWLAN-600P产品使用和常见问题说明
某基金投资公司绩效考核设计项目成功案例纪实
- 原文地址:https://blog.csdn.net/zhuowalun8427/article/details/127724784
