-
Debian11安装Proxmox VE 7
Debian11安装Proxmox VE 7,以下皆为作者借鉴官网教程实操并记录
IP 地址添加 /etc/hosts
nano /etc/hosts- 1
正确配置如图所示
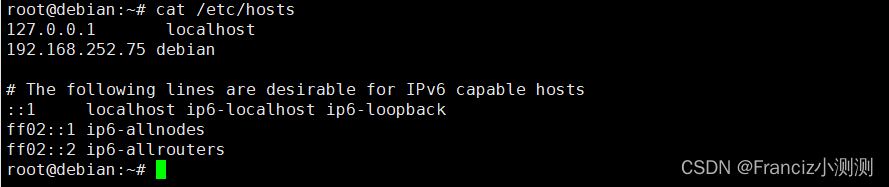
127.0.0.1 localhost 192.168.252.75 debian # The following lines are desirable for IPv6 capable hosts ::1 localhost ip6-localhost ip6-loopback ff02::1 ip6-allnodes ff02::2 ip6-allrouters- 1
- 2
- 3
- 4
- 5
- 6
- 7
其中debian是你的主机名,192.168.252.75是你的ip地址,如果你的IP地址不存在,此处可能不是这样显示的,需要你设置IP(此处可自行百度).
使用hostname --ip-address命令测试设置是否正常

设置Debian 11国内源
修改国内源
点我查看nano的使用
省流版退出,按Ctrl+X
如果你修改了文件,下面会询问你是否需要保存修改。输入Y确认保存,输入N不保存,按Ctrl+C取消返回。
如果输入了Y,下一步会让你输入想要保存的文件名。如果不需要修改文件名直接回车就行;若想要保存成别的名字(也就是另存为)则输入新名称然后确 定。这个时候也可用Ctrl+C来取消返回。# 先备份 cp /etc/apt/sources.list /etc/apt/sources.list.bak nano /etc/apt/sources.list- 1
- 2
- 3
删除原内容增加新内容:
deb https://mirrors.tuna.tsinghua.edu.cn/debian/ bullseye main contrib non-free deb-src https://mirrors.tuna.tsinghua.edu.cn/debian/ bullseye main contrib non-free deb https://mirrors.tuna.tsinghua.edu.cn/debian/ bullseye-updates main contrib non-free deb-src https://mirrors.tuna.tsinghua.edu.cn/debian/ bullseye-updates main contrib non-free deb https://mirrors.tuna.tsinghua.edu.cn/debian/ bullseye-backports main contrib non-free deb-src https://mirrors.tuna.tsinghua.edu.cn/debian/ bullseye-backports main contrib non-free deb https://mirrors.tuna.tsinghua.edu.cn/debian-security bullseye-security main contrib non-free deb-src https://mirrors.tuna.tsinghua.edu.cn/debian-security bullseye-security main contrib non-free- 1
- 2
- 3
- 4
- 5
- 6
- 7
- 8
如图所示

添加 Proxmox VE 存储库
echo 'deb http://mirrors.ustc.edu.cn/proxmox/debian/pve bullseye pve-no-subscription' >> /etc/apt/sources.list.d/pve-no-subscription.list- 1
添加 Proxmox VE 存储库密钥
# 文件下载到/etc/apt/trusted.gpg.d/ wget https://enterprise.proxmox.com/debian/proxmox-release-bullseye.gpg -O /etc/apt/trusted.gpg.d/proxmox-release-bullseye.gpg- 1
- 2
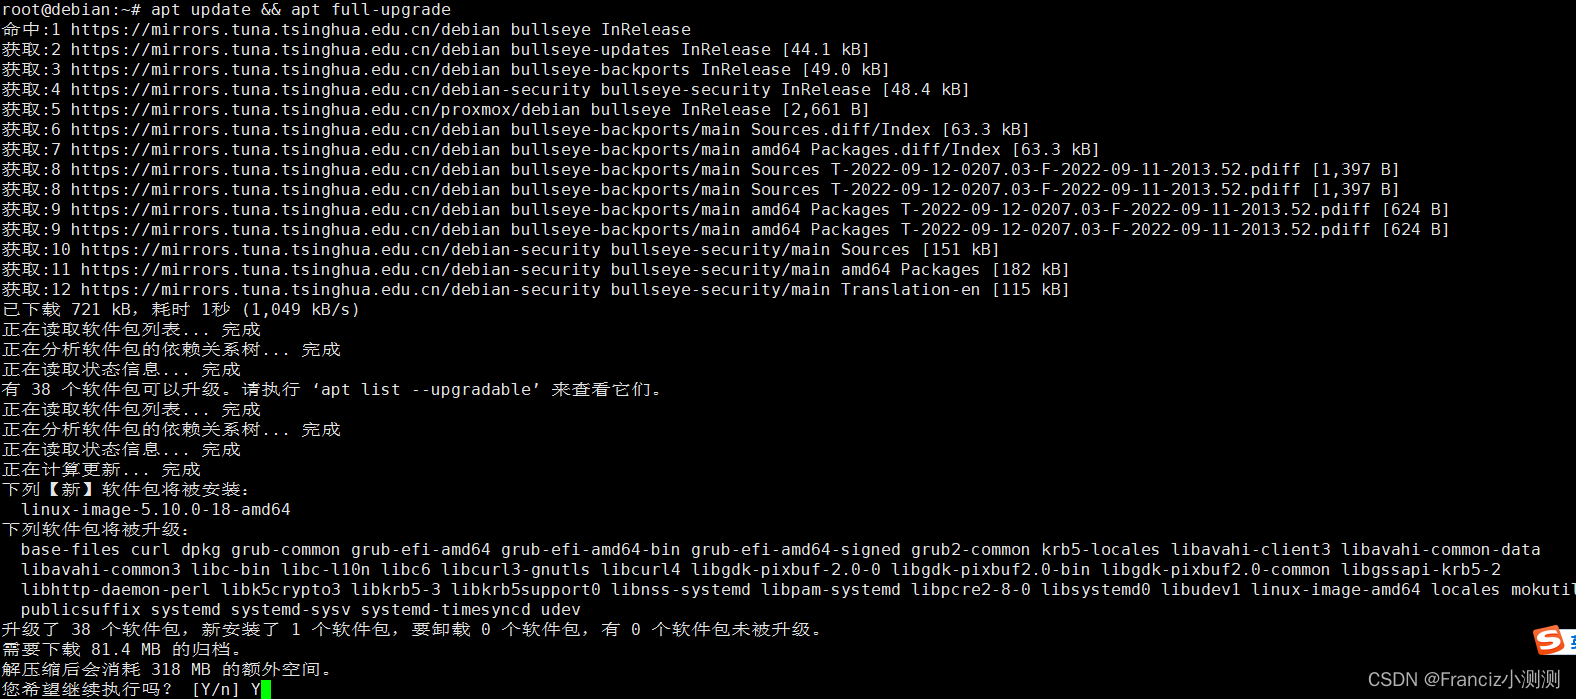
更新存储库和系统
apt update && apt full-upgrade- 1
安装 Proxmox VE
apt install proxmox-ve postfix open-iscsi- 1
此处如果安装出现错误,例如
Sub-process /usr/bin/dpkg returned an error code- 1
那么需要你首先检查你的IP配置尤其是网关,你是否可以ping www.baidu.com

然后卸载apt-get remove proxmox*- 1
尝试重新安装
apt install proxmox-ve postfix open-iscsi- 1
根据官网的建议,安装结束后建议卸载
apt remove os-prober- 1
最后重启Debian即可完成
systemctl reboot- 1
重启后输入根据屏幕的提示输入网址即可访问,例如
https://192.168.252.232:8006- 1
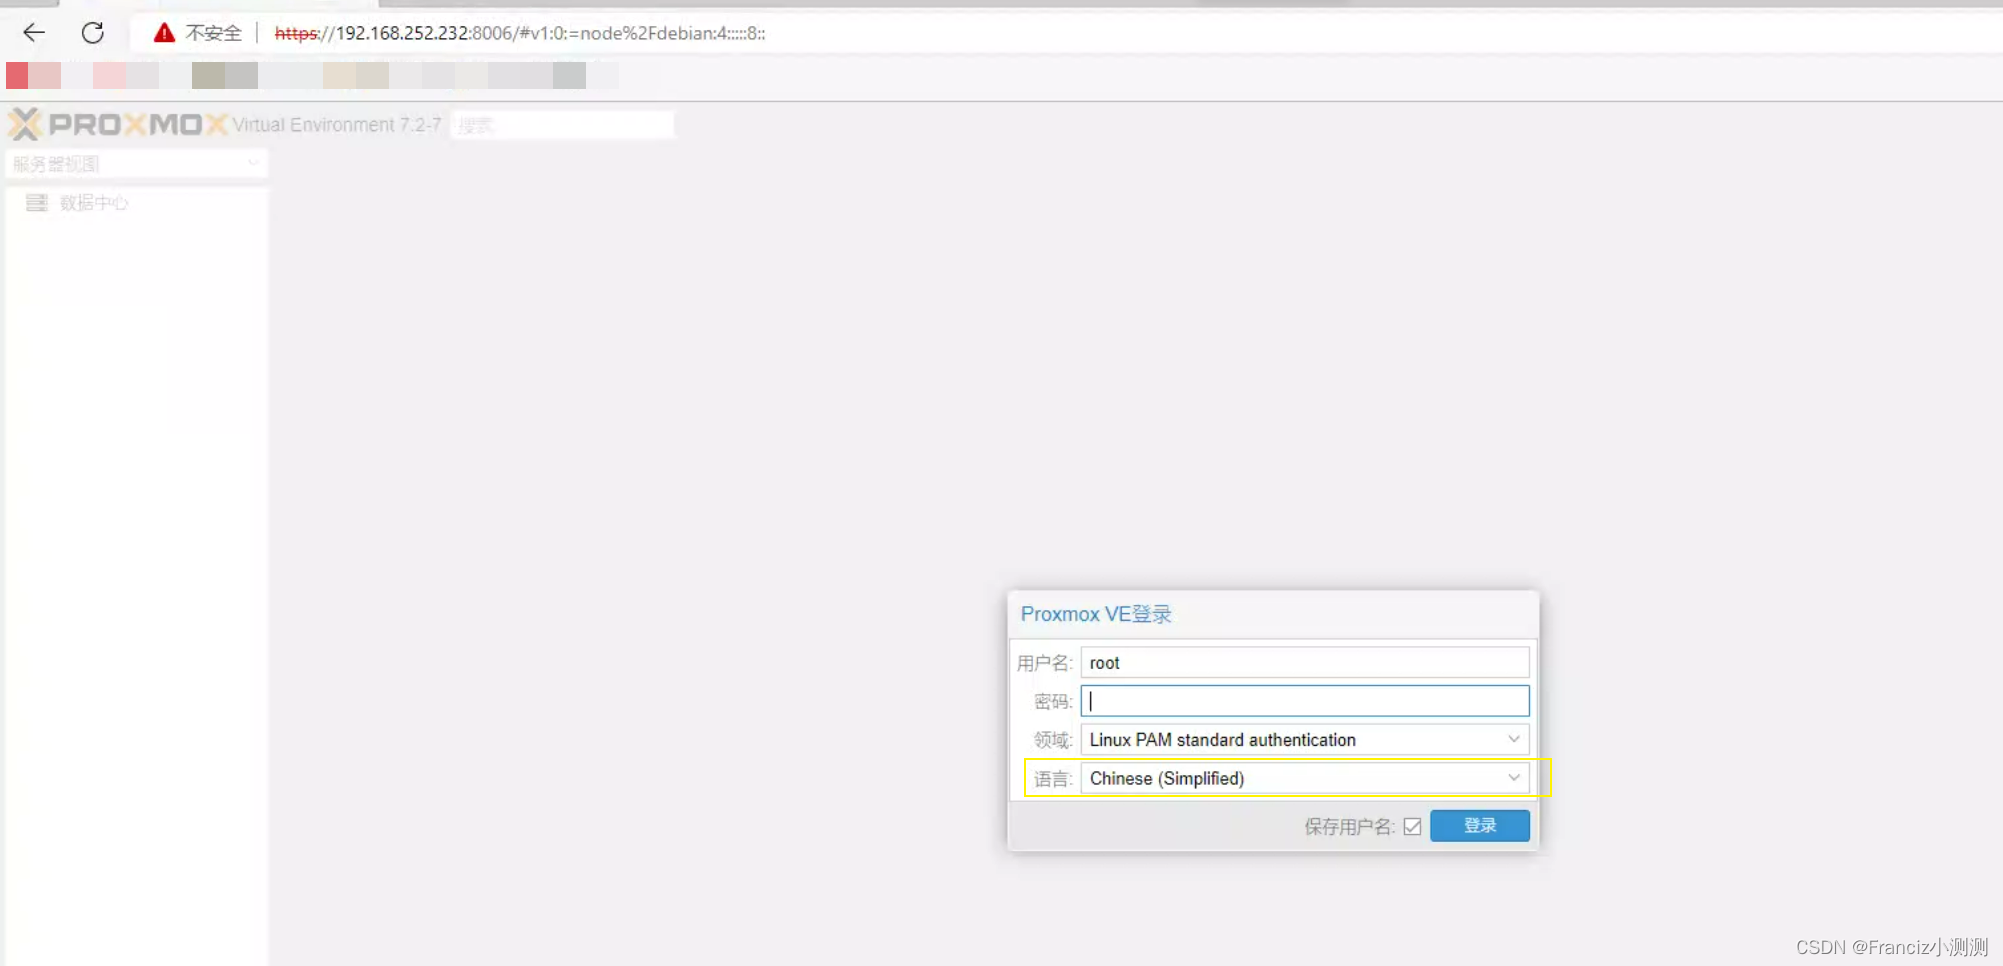
如果你输入了正确的root的密码却无法登登录
可能是你没有开启Debian的ssh的root远程登录.
开启方法:开启root远程登录
nano /etc/ssh/sshd_config- 1
将PermitRootLogin后面的值改为yes

修改后执行/etc/init.d/ssh restart- 1
然后应该就可以正常登陆了,否则就是你的密码确实不正确
Proxmox VE 设置虚拟网桥
注意:此处的设置可能会导致proxmox本机无法访问互联网,若出现此情况说明你设置有误,请删除重新设置.
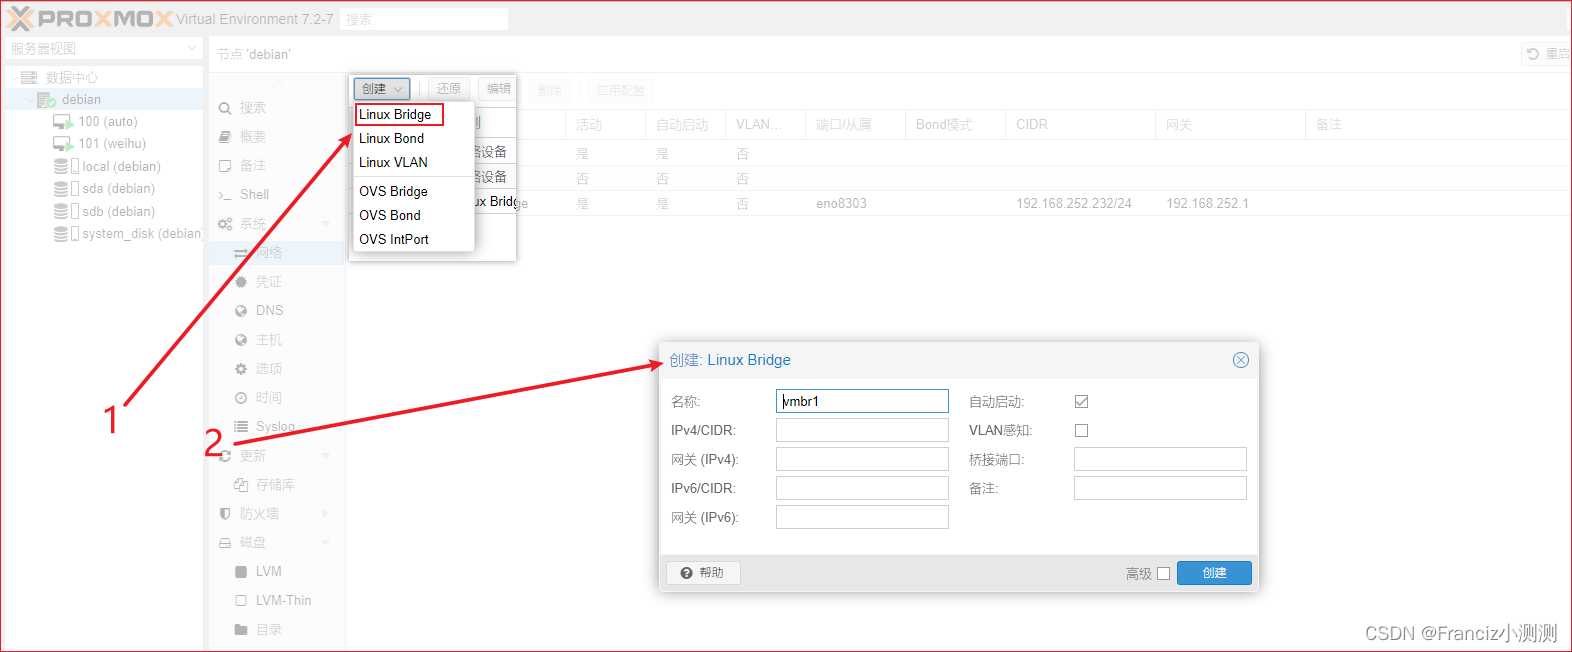
这里一定要正确设置你的网关,IPv4/CIDR相当于指定静态IP,此处需要注意你设置的静态IP是否是未被占用的.一般随便写个,不至于就正好是已经在使用的IP.
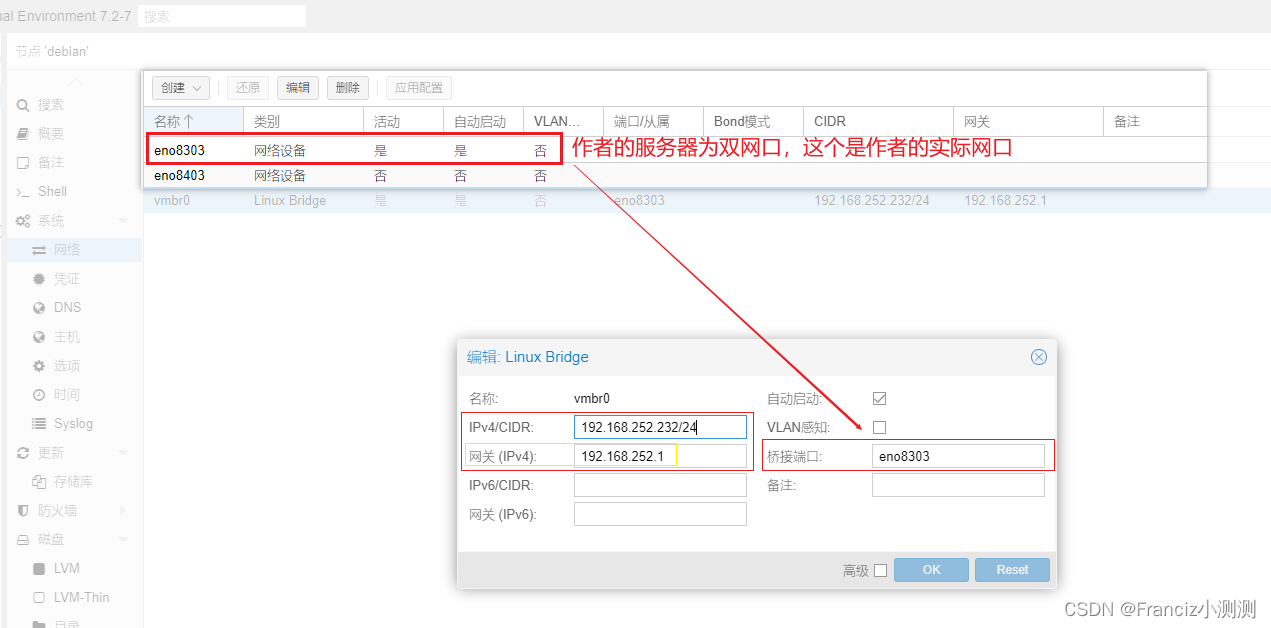
创建完成后如图所示
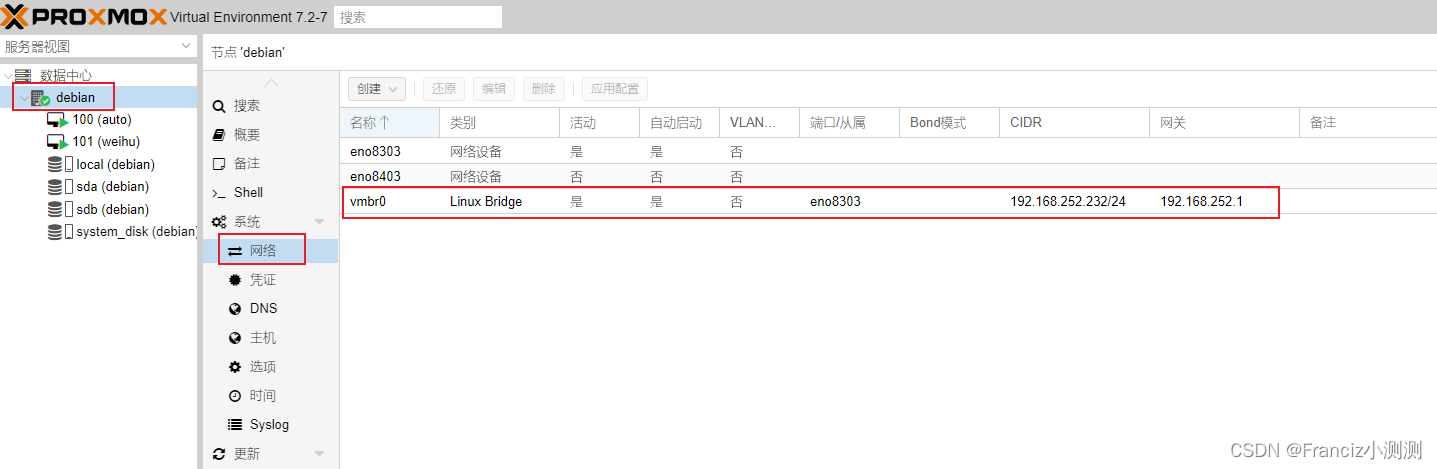
最后点击’应用配置’

然后就可以通过新的IP访问Proxmox的管理网页
并且实测ping 新IP也是没问题的,例如
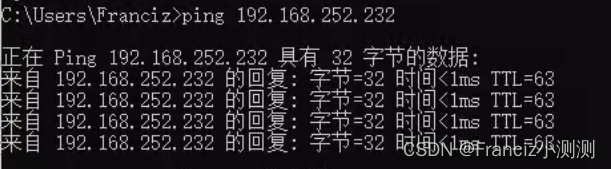
https://输入你的新IP:8006- 1
添加目录
点击 数据中心
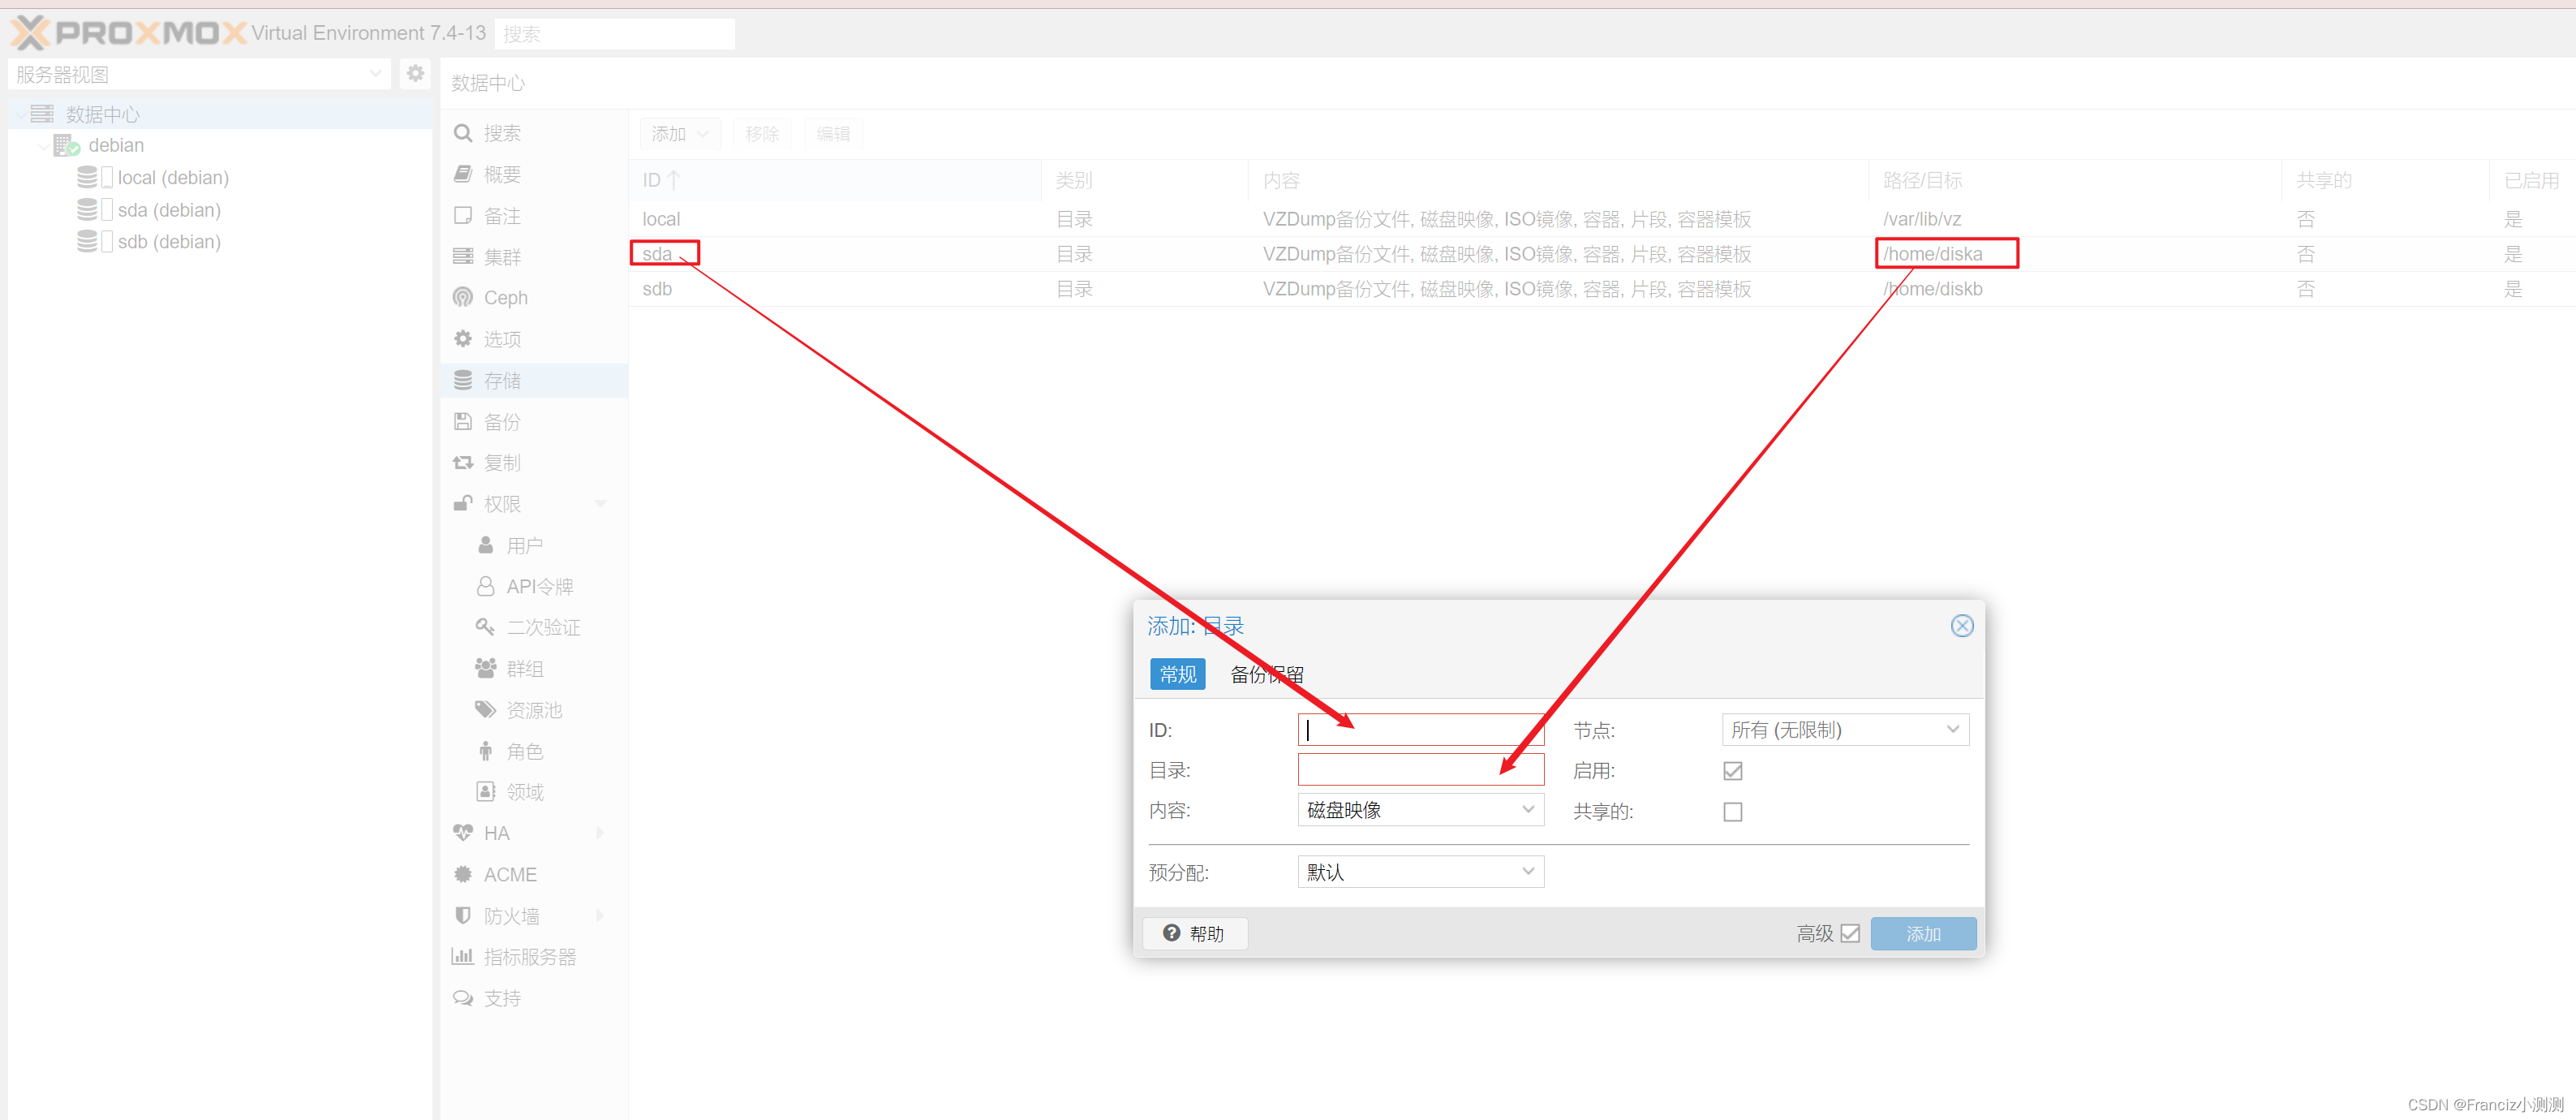
ID就是别名,目录是你添加的目录的挂载目录(建议一般可以是对应的独立的磁盘的挂载目录,即假如你有两个磁盘,这里两个目录就可以分别使用两个磁盘) -
相关阅读:
7 个不容忽视的开源安全工具
[cpp primer随笔] 11. 内联函数与constexpr函数
(附源码)计算机毕业设计SSM交通事故记录信息管理系统
C# 类继承中的私有字段都去了哪里?
--JVM调优参数设置 --jvm垃圾回收器
4、【创业必备企业架构,可开发任意项目】SpringCloud大型企业分布式微服务云架构源码之MySQL 连接
Visual Studio 调试 F5断点执行
spark入门学习-1
【Python笔记-设计模式】备忘录模式
软件测试中的测试工具和自动化测试
- 原文地址:https://blog.csdn.net/Franciz777/article/details/126816111