-
4.3 实现注册模块与登录状态持久化
😊如果写的可以帮到你,可以点个赞吗,你的支持就是我写下去的动力。😊
本文阅读大概 10 分钟, 自己写加思考大概 1 ~ 2 小时。建议:代码可以手抄, 但不要复制。
1. 整体框架
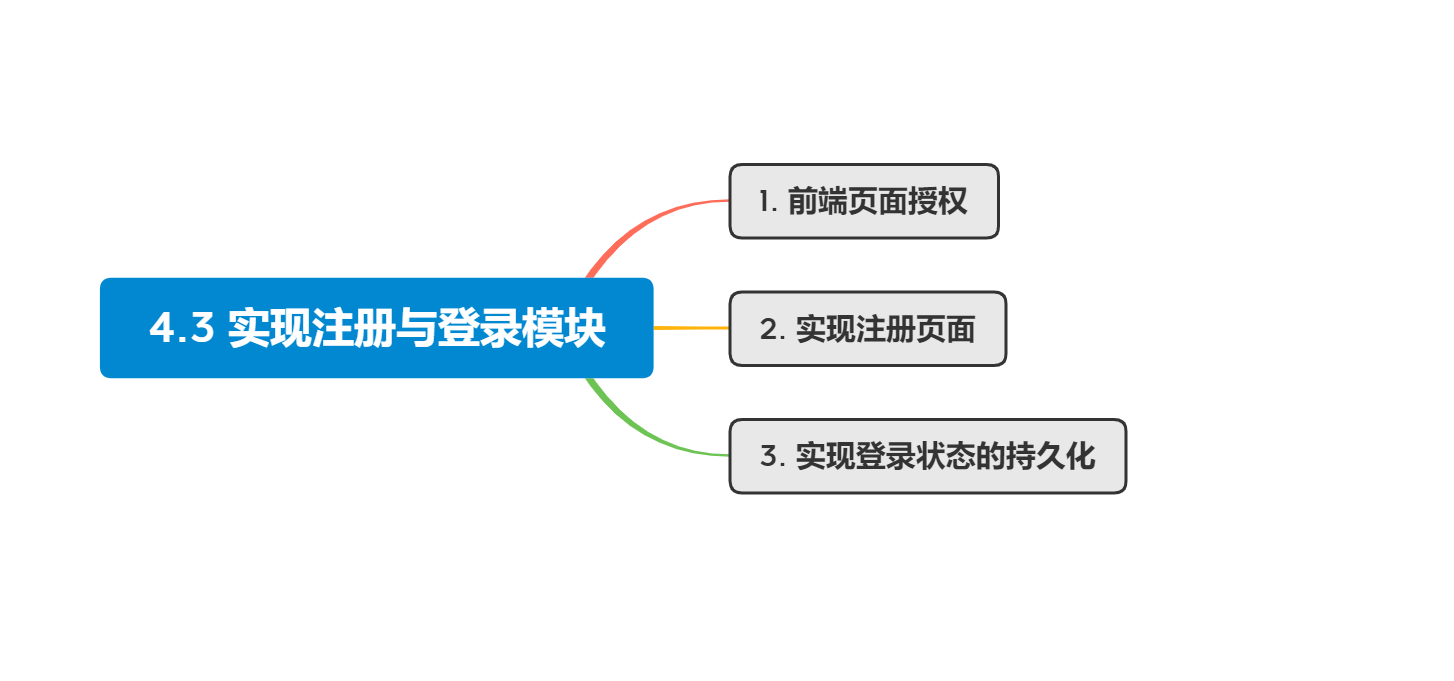
1. 前端页面授权
当我们登录网站的时候,如果没有登录,强制让用户重定向到 登录界面
在
router目录下的index.js文件下实现。router->index.jsimport store from '../store/index' // 把一些额外信息放到一个额外的域里面,meta信息里面存一下是否要授权,如果需要授权而且没有登录,重定向到登录页面,重定向到登录界面。 const routes = [ { path: "/", name: "home", redirect: "/pk/", meta: { requestAuth: true, } }, { path: "/pk/", name: "pk_index", component: PkIndexView, meta: { requestAuth: true, } }, { path: "/record/", name: "record_index", component: RecordIndexView, meta: { requestAuth: true, } }, { path: "/ranklist/", name: "ranklist_index", component: RanklistIndexView, meta: { requestAuth: true, } }, { path: "/user/bot/", name: "user_bot_index", component: UserBotIndexView, meta: { requestAuth: true, } }, { path: "/user/account/login", name: "user_account_login", component: UserAccountLoginView, meta: { requestAuth: false, } }, { path: "/user/account/register", name: "user_account_register", component: UserAccountRegisterView, meta: { requestAuth: false, } }, { path: "/404/", name: "404", component: NotFound, meta: { requestAuth: false, } }, { path: "/:catchAll(.*)", redirect: "/404/", } ] // to跳转到哪个页面, from表示从哪个页面跳转过去 // next的表示将页面要不要执行下一步操作,写之前首先要记录每一个未授权界面 router.beforeEach((to, from, next) => { if (to.meta.requestAuth && !store.state.user.is_login) { next({name: "user_account_login"}); } else { next(); } })- 1
- 2
- 3
- 4
- 5
- 6
- 7
- 8
- 9
- 10
- 11
- 12
- 13
- 14
- 15
- 16
- 17
- 18
- 19
- 20
- 21
- 22
- 23
- 24
- 25
- 26
- 27
- 28
- 29
- 30
- 31
- 32
- 33
- 34
- 35
- 36
- 37
- 38
- 39
- 40
- 41
- 42
- 43
- 44
- 45
- 46
- 47
- 48
- 49
- 50
- 51
- 52
- 53
- 54
- 55
- 56
- 57
- 58
- 59
- 60
- 61
- 62
- 63
- 64
- 65
- 66
- 67
- 68
- 69
- 70
- 71
- 72
- 73
- 74
- 75
- 76
- 77
- 78
- 79
- 80
- 81
- 82

最终实现效果:如果处于未登录状态,点击 除注册之外的按钮 页面会跳转到 登录界面。
2. 实现注册页面
在
view->user->account下的UserAccountRegisterView.vue文件实现,实现方式类似于同目录下的UserAccountLoginView.vue可以直接把登录页面的样式复制过来再做修改。
<template> <ContentField> <div class="row justify-content-md-center"> <div class="col-3"> <form @submit.prevent="register"> <div class="mb-3"> <label for="username" class="form-label">用户名</label> <input v-model="username" type="text" class="form-control" id="username" placeholder="请输入用户名"> </div> <div class="mb-3"> <label for="password" class="form-label">密码</label> <input v-model="password" type="password" class="form-control" id="password" placeholder="请输入密码"> </div> <div class="mb-3"> <label for="confirmedpassword" class="form-label">密码</label> <input v-model="confirmedpassword" type="password" class="form-control" id="confirmedpassword" placeholder="请再次输入密码"> </div> <div class="error-message">{{ error_message }}</div> <button type="submit" class="btn btn-primary">提交</button> </form> </div> </div> </ContentField> </template> <script> import ContentField from '../../../components/ContentField.vue' import { ref } from 'vue' import router from '../../../router/index' import $ from 'jquery' export default { components: { ContentField }, setup() { let username = ref(''); let password = ref(''); let confirmedPassword = ref(''); let error_message = ref(''); const register = () => { $.ajax({ url: "http://127.0.0.1:8080/user/account/register/", type: "post", data: { username: username.value, password: password.value, confirmedPassword: confirmedPassword.value, }, success(resp) { // 成功直接返回登录界面 if (resp.error_message === "success") { router.push({name: "user_account_login"}); } else { error_message.value = resp.error_message; } }, }); } return { username, password, confirmedPassword, error_message, register, } } } </script> <style scoped> button { width: 100%; } div.error-message { color: red; justify-content: center; } </style>- 1
- 2
- 3
- 4
- 5
- 6
- 7
- 8
- 9
- 10
- 11
- 12
- 13
- 14
- 15
- 16
- 17
- 18
- 19
- 20
- 21
- 22
- 23
- 24
- 25
- 26
- 27
- 28
- 29
- 30
- 31
- 32
- 33
- 34
- 35
- 36
- 37
- 38
- 39
- 40
- 41
- 42
- 43
- 44
- 45
- 46
- 47
- 48
- 49
- 50
- 51
- 52
- 53
- 54
- 55
- 56
- 57
- 58
- 59
- 60
- 61
- 62
- 63
- 64
- 65
- 66
- 67
- 68
- 69
- 70
- 71
- 72
- 73
- 74
- 75
- 76
- 77
- 78
- 79
- 80
- 81
- 82

实现效果图:

在测试的时候可以会遇到不输入密码也可以注册成功的
bug, 在RegisterServiceImpl.java下 修改一下就可以了。

3. 实现登录状态的持久化
当我们的用户重定向到登陆页面的时候,我们需要把用户的
token存储到浏览器的local storage,这样就可以实现登录状态持久化。首先 修改
store目录下的 ->user.js文件,在合适的位置添加下列两行。localStorage.setItem("jwt_token", resp.token); localStorage.removeItem("jwt_token");- 1
- 2
- 3

其次 修改
view->user->account下的UserAccountLoginView.vue文件<script> import ContentField from '../../../components/ContentField.vue' import { useStore } from 'vuex' import { ref } from 'vue' import router from '../../../router/index' export default { components: { ContentField }, setup() { const store = useStore(); let username = ref(''); let password = ref(''); let error_message = ref(''); const jwt_token = localStorage.getItem("jwt_token"); if (jwt_token) { store.commit("updateToken", jwt_token); store.dispatch("getinfo", { success() { router.push({ name: "home" }); }, error() { } }) }else { } const login = () => { error_message.value = ""; store.dispatch("login", { username: username.value, password: password.value, success() { store.dispatch("getinfo", { success() { router.push({ name: 'home' }); console.log(store.state.user); } }) }, error() { error_message.value = "用户名或密码错误"; } }) } return { username, password, error_message, login, } } } </script>- 1
- 2
- 3
- 4
- 5
- 6
- 7
- 8
- 9
- 10
- 11
- 12
- 13
- 14
- 15
- 16
- 17
- 18
- 19
- 20
- 21
- 22
- 23
- 24
- 25
- 26
- 27
- 28
- 29
- 30
- 31
- 32
- 33
- 34
- 35
- 36
- 37
- 38
- 39
- 40
- 41
- 42
- 43
- 44
- 45
- 46
- 47
- 48
- 49
- 50
- 51
- 52
- 53
- 54
- 55
- 56
- 57
- 58

优化前端
在实现前端登录状态持久化之后,刷新页面可能会存在明显的转换,所以下面对前端页面进行优化。
首先 在
store目录下的user.js中添加全局变量和下拉函数。state: { id: "", username: "", password: "", photo: "", token: "", is_login: false, pulling_info: true, //是否正在拉取信息 }, mutations: { updateUser(state, user) { state.id = user.id; state.username = user.username; state.photo = user.photo; state.is_login = user.is_login; }, updateToken(state, token) { state.token = token; }, logout(state) { state.id = ""; state.username = ""; state.photo = ""; state.token = ""; state.is_login = false; }, updatePullingInfo(state, pulling_info) { state.pulling_info = pulling_info; } },- 1
- 2
- 3
- 4
- 5
- 6
- 7
- 8
- 9
- 10
- 11
- 12
- 13
- 14
- 15
- 16
- 17
- 18
- 19
- 20
- 21
- 22
- 23
- 24
- 25
- 26
- 27
- 28
- 29
- 30
- 31

其次 修改
UserAccountLoginView.vue<template> <ContentField v-if="!$store.state.user.pulling_info"> <div class="row justify-content-md-center"> <div class="col-3"> <form @submit.prevent="login"> <div class="mb-3"> <label for="username" class="form-label">用户名</label> <input v-model="username" type="text" class="form-control" id="username" placeholder="请输入用户名"> </div> <div class="mb-3"> <label for="password" class="form-label">密码</label> <input v-model="password" type="password" class="form-control" id="password" placeholder="请输入密码"> </div> <div class="error-message">{{ error_message }}</div> <button type="submit" class="btn btn-primary">提交</button> </form> </div> </div> </ContentField> </template> <script> setup() { const store = useStore(); let username = ref(''); let password = ref(''); let error_message = ref(''); const jwt_token = localStorage.getItem("jwt_token"); if (jwt_token) { store.commit("updateToken", jwt_token); store.dispatch("getinfo", { success() { router.push({ name: "home" }); store.commit("updatePullingInfo", false); }, error() { store.commit("updatePullingInfo", false); } }) }else { store.commit("updatePullingInfo", false); } } </script>- 1
- 2
- 3
- 4
- 5
- 6
- 7
- 8
- 9
- 10
- 11
- 12
- 13
- 14
- 15
- 16
- 17
- 18
- 19
- 20
- 21
- 22
- 23
- 24
- 25
- 26
- 27
- 28
- 29
- 30
- 31
- 32
- 33
- 34
- 35
- 36
- 37
- 38
- 39
- 40
- 41
- 42
- 43
- 44
- 45
- 46
- 47


最后还需要修改
NavBar.vue。<ul class="navbar-nav" v-else-if="!$store.state.user.pulling_info"> <li class="nav-item"> <router-link class="nav-link" :to="{name: 'user_account_login' }" role="button"> 登录 </router-link> </li> <li class="nav-item"> <router-link class="nav-link" :to="{name: 'user_account_register'}" role="button"> 注册 </router-link> </li> </ul>- 1
- 2
- 3
- 4
- 5
- 6
- 7
- 8
- 9
- 10
- 11
- 12

代码地址
-
相关阅读:
SpringBoot的Profile配置
Vue Router最佳实践,以确保你的Vue.js应用的路由管理清晰、可维护和高效
调整网络安全策略以适应不断升级的威胁形势
蓝桥每日一题(day 4: 蓝桥592.门牌制作)--模拟--easy
【计算机网络】
【解决】elasticsearch:Could not parse aggregation keyed as [%s]问题
springboot升级到2.6.x和2.7.x 兼容hystrix
股指期货基差和升贴水介绍
C语言结构体详解:定义、初始化和指针使用
python实现 合并相同编号的证书名称
- 原文地址:https://blog.csdn.net/qq_41046821/article/details/126558520
