-
机器人控制器编程实践指导书旧版-实践二 传感器(模拟量)
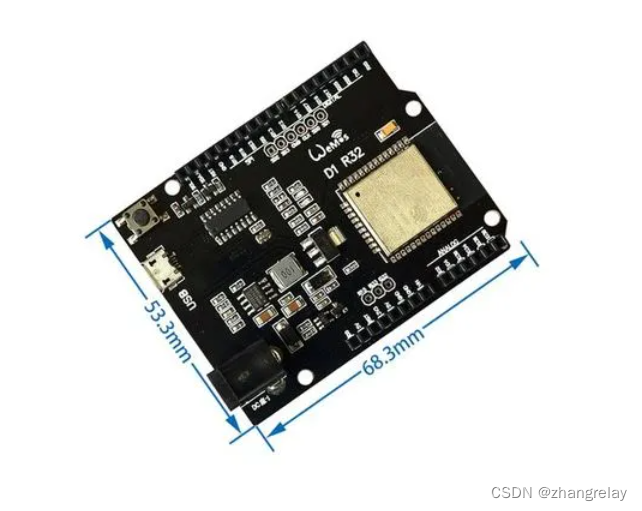
适用于UNO/2560/DUE/ESP8266/ESP32,2021年之前使用版本。
实践二 传感器(模拟量)
2.1 实践目的
- 掌握Arduino[ESP32]与红外避障传感器、温湿度传感器、烟雾传感器、火焰传感器、人体红外感应传感器、超声波传感器模块的测试。
2.2 实践设备
- PC机一台
- Arduino[ESP32]开发板及配件等
- 万用表和示波器等
2.3 实践原理
由于模拟传感器种类繁多,但是代码和原理基本相似,只给出一些典型案例介绍。
- 初级:
压力传感器:

示意图
参考代码:
int sensorPin = 2; // select the input pin for the potentiometer
int ledPin = 13; // select the pin for the LED
int sensorValue = 0; // variable to store the value coming from the sensor
void setup() {
// declare the ledPin as an OUTPUT:
pinMode(ledPin, OUTPUT);
}
void loop() {
// read the value from the sensor:
sensorValue = analogRead(sensorPin);
// turn the ledPin on
digitalWrite(ledPin, HIGH);
// stop the program for
milliseconds: delay(sensorValue);
// turn the ledPin off:
digitalWrite(ledPin, LOW);
// stop the program for for
milliseconds: delay(sensorValue);
}
- 中级:
温度传感器LM35:

示意图
参考代码:
float temperature; // stores the temperature
int sensorPin = 0; // pin where the sensor is connected to
int startTemp=20;
// the start temperature > at this temperature, no LED will light up
void setup(){
Serial.begin(9600); // initialisation of the serial connection
for (int i=2;i<8; i++){ // output channels from 2 to 7
pinMode(i,OUTPUT); // pin is a output
}
}
void loop()
{
temperature = analogRead(sensorPin); // reading analog sensor value
temperature = temperature*0.488; // correcting to °C
for (int i=0;i<8; i++){
if (temperature>((i*2)+startTemp)){ // switch LED on, if temperature is higher than starttemp + (LED number*2)
digitalWrite(i,HIGH);
}
else {
digitalWrite(i,LOW); // else, switch it off
}
}
Serial.print(temperature);Serial.println(" °C"); // send the temperarue to the serial monitor
delay(500); // just wait a little
}
- 高级(ROS选修):
模拟量端口数据采集:
#if (Arduino[ESP32] >= 100)
#include
#else
#include
#endif
#include
#include
ros::NodeHandle nh;
rosserial_Arduino[ESP32]::Adc adc_msg;
ros::Publisher p("adc", &adc_msg);
void setup()
{
pinMode(13, OUTPUT);
nh.initNode();
nh.advertise(p);
}
//We average the analog reading to elminate some of the noise
int averageAnalog(int pin){
int v=0;
for(int i=0; i<4; i++) v+= analogRead(pin);
return v/4;
}
long adc_timer;
void loop()
{
adc_msg.adc0 = averageAnalog(0);
adc_msg.adc1 = averageAnalog(1);
adc_msg.adc2 = averageAnalog(2);
adc_msg.adc3 = averageAnalog(3);
adc_msg.adc4 = averageAnalog(4);
adc_msg.adc5 = averageAnalog(5);
p.publish(&adc_msg);
nh.spinOnce();
}
2.4 实践内容
阅读2.3中示意图、原理图和代码,在Arduino[ESP32]平台上完成实践。
2.5 实践问题
2.5.1 依据环境光亮度(光敏电阻)控制LED灯闪烁频率或亮度
在此示例中,光电管值通过“模拟输入”引脚读取。 然后使用这些值来控制 LED 的闪烁速率。
使用万用表,检查不同光照条件下光电管的最小和最大电阻。然后用Axel-Benz公式计算电阻值:Rref = sqrt(Rmin*Rmax)

示意图
写出实现上述功能核心代码,并下载到Arduino[ESP32]验证(此题类似手机屏幕亮度自动调节)。
// These constants won't change. They're used to give names to the pins used:
const int analogInPin = A0; // Analog input pin that the potentiometer is attached to
const int analogOutPin = 9; // Analog output pin that the LED is attached to
int sensorValue = 0; // value read from the pot
int outputValue = 0; // value output to the PWM (analog out)
void setup() {
// initialize serial communications at 9600 bps:
Serial.begin(9600);
}
void loop() {
// read the analog in value:
sensorValue = analogRead(analogInPin);
// map it to the range of the analog out:
outputValue = map(sensorValue, 0, 1023, 0, 255);
// change the analog out value:
analogWrite(analogOutPin, outputValue);
// print the results to the Serial Monitor:
Serial.print("sensor = ");
Serial.print(sensorValue);
Serial.print("\t output = ");
Serial.println(outputValue);
// wait 2 milliseconds before the next loop for the analog-to-digital
// converter to settle after the last reading:
delay(2);
}
2.5.2 依据距离远近依次点亮LED
简单的停车助手
测量到附近物体的距离并显示为 LED 图表。

写出实现上述功能核心代码,并下载到Arduino[ESP32]验证。
#include
#include
ros::NodeHandle nh;
void messageCb( const std_msgs::Empty& toggle_msg){
digitalWrite(13, HIGH-digitalRead(13)); // blink the led
}
ros::Subscriber
void setup()
{
pinMode(13, OUTPUT);
nh.initNode();
nh.subscribe(sub);
}
void loop()
{
nh.spinOnce();
delay(1);
}
2.6 实践总结
回顾本次实践,遇到哪些问题,如何解决,经验和启发有哪些?
DHT11是温湿度传感器,ESP32可以通过单总线读取DHT11,使用ESP32开发板,连接四路DHT11,发现,读值是正常的。
评分:
-
相关阅读:
【JAVA】浅解线程池ThreadPoolExecutor的各个参数
java: 错误:无效的源发行版
HTML期末学生大作业-使用HTML+CSS技术仿传智博客网站
计算机网络---UDP协议
机器学习从零到入门 集成学习
查看网卡速率脚本
2023年4月到7月工作经历
element-plus打开Dialog、图片预览导致页面抖动
TMS320F28374S之CMPSS
求职攻略| 硬核公司的硬件笔试题长什么样?先来5道选择题
- 原文地址:https://blog.csdn.net/ZhangRelay/article/details/126257342