-
创建SpringCloudGateWay
创建SpringCloudGateWay
本案例基于尚硅谷《谷粒商城》项目,视频27 创建测试API网关
1、创建module


2、引入依赖
<project xmlns="http://maven.apache.org/POM/4.0.0" xmlns:xsi="http://www.w3.org/2001/XMLSchema-instance" xsi:schemaLocation="http://maven.apache.org/POM/4.0.0 https://maven.apache.org/xsd/maven-4.0.0.xsd"> <modelVersion>4.0.0modelVersion> <parent> <groupId>org.springframework.bootgroupId> <artifactId>spring-boot-starter-parentartifactId> <version>2.1.8.RELEASEversion> <relativePath/> parent> <groupId>com.atguigu.gulimallgroupId> <artifactId>gulimall-gatewayartifactId> <version>0.0.1-SNAPSHOTversion> <name>gulimall-gatewayname> <description>API网关description> <properties> <java.version>1.8java.version> <spring-cloud.version>Greenwich.SR3spring-cloud.version> properties> <dependencies> <dependency> <groupId>com.atguigu.gulimallgroupId> <artifactId>gulimall-commonartifactId> <version>1.0-SNAPSHOTversion> dependency> <dependency> <groupId>org.springframework.cloudgroupId> <artifactId>spring-cloud-starter-gatewayartifactId> dependency> <dependency> <groupId>org.springframework.bootgroupId> <artifactId>spring-boot-starter-testartifactId> <scope>testscope> dependency> dependencies> <dependencyManagement> <dependencies> <dependency> <groupId>org.springframework.cloudgroupId> <artifactId>spring-cloud-dependenciesartifactId> <version>${spring-cloud.version}version> <type>pomtype> <scope>importscope> dependency> dependencies> dependencyManagement> <build> <plugins> <plugin> <groupId>org.springframework.bootgroupId> <artifactId>spring-boot-maven-pluginartifactId> plugin> plugins> build> project>- 1
- 2
- 3
- 4
- 5
- 6
- 7
- 8
- 9
- 10
- 11
- 12
- 13
- 14
- 15
- 16
- 17
- 18
- 19
- 20
- 21
- 22
- 23
- 24
- 25
- 26
- 27
- 28
- 29
- 30
- 31
- 32
- 33
- 34
- 35
- 36
- 37
- 38
- 39
- 40
- 41
- 42
- 43
- 44
- 45
- 46
- 47
- 48
- 49
- 50
- 51
- 52
- 53
- 54
- 55
- 56
- 57
- 58
- 59
- 60
3、开启服务注册与发现
3.1@EnableDiscoveryClient//加入该注解 @SpringBootApplication public class GulimallGatewayApplication { public static void main(String[] args) { SpringApplication.run(GulimallGatewayApplication.class, args); } }- 1
- 2
- 3
- 4
- 5
- 6
- 7
- 8
- 9
3.2 修改application.properties文件,将服务注册到nacos
#配置nacos注册中心地址 spring.cloud.nacos.discovery.server-addr=127.0.0.1:8848 #服务名称 spring.application.name=gulimall-gateway- 1
- 2
- 3
- 4
- 5
3.3
在nacos页面创建网关命名空间


创建配置


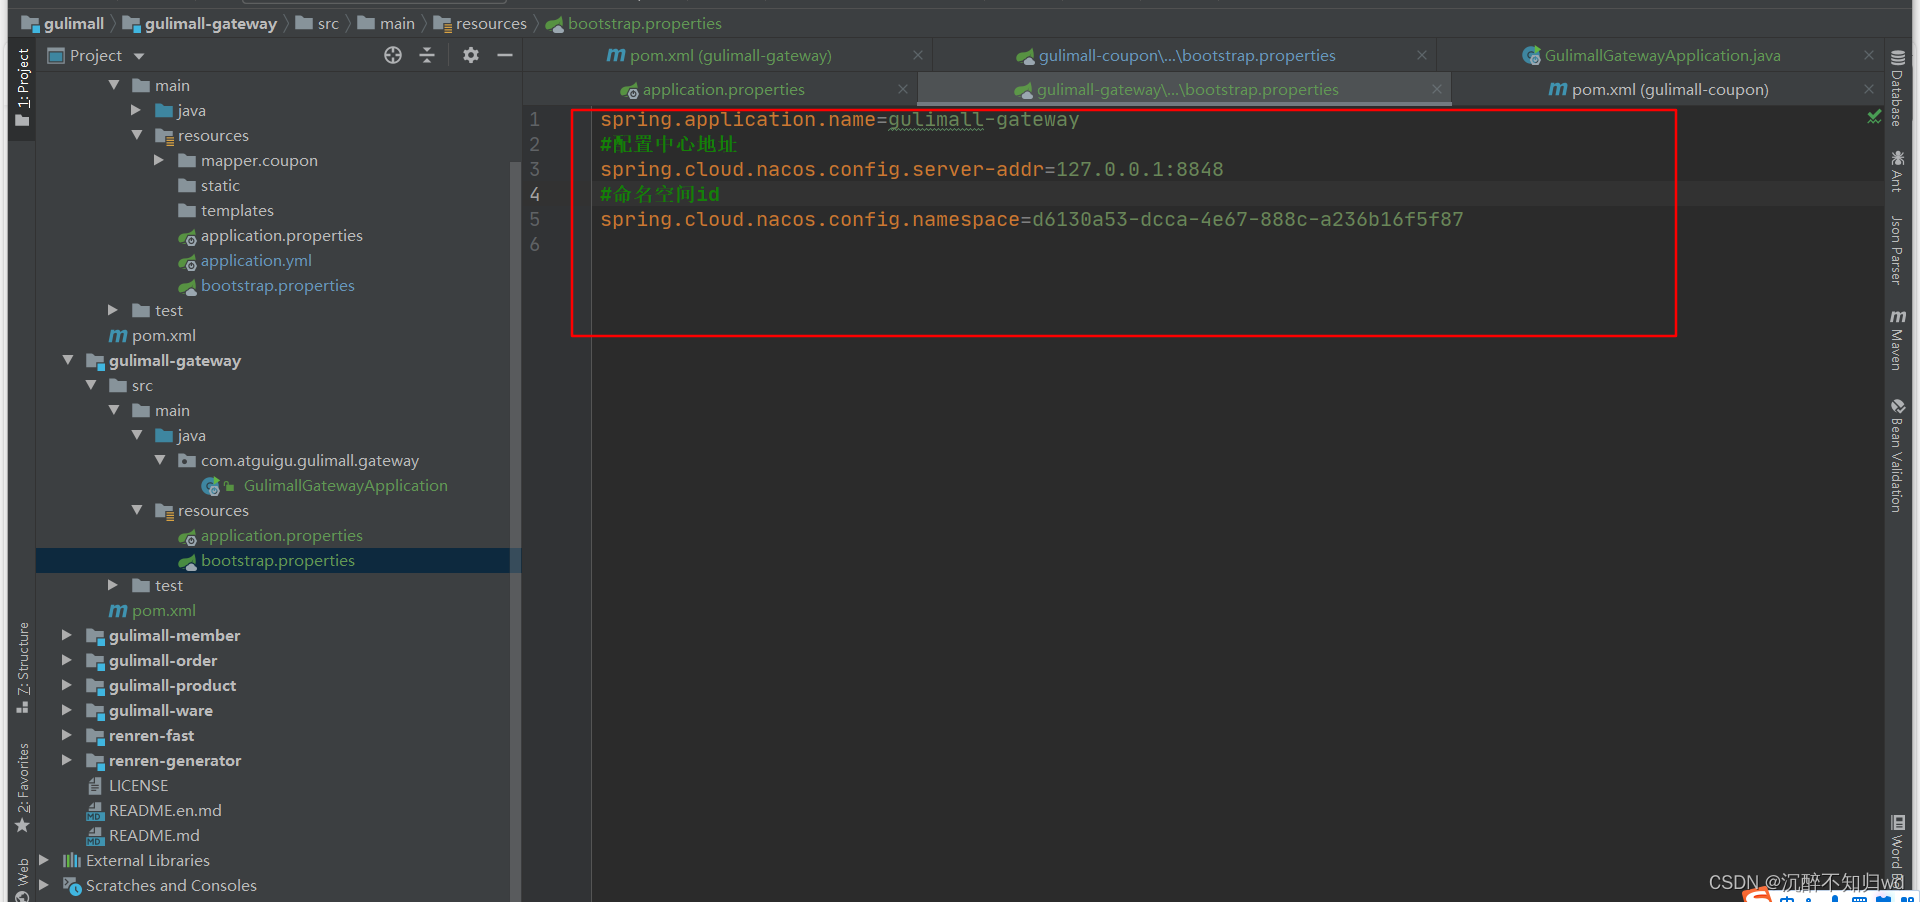
创建bootstrap.properties
spring.application.name=gulimall-gateway #配置中心地址 spring.cloud.nacos.config.server-addr=127.0.0.1:8848 #命名空间id spring.cloud.nacos.config.namespace=d6130a53-dcca-4e67-888c-a236b16f5f87- 1
- 2
- 3
- 4
- 5
- 6
3.4
启动类添加排除数据库配置代码(exclude = DataSourceAutoConfiguration.class)
@EnableDiscoveryClient @SpringBootApplication(exclude = DataSourceAutoConfiguration.class) public class GulimallGatewayApplication { public static void main(String[] args) { SpringApplication.run(GulimallGatewayApplication.class, args); } }``` 否则项目启动报错: ```xml *************************** APPLICATION FAILED TO START *************************** Description: Failed to configure a DataSource: 'url' attribute is not specified and no embedded datasource could be configured. Reason: Failed to determine a suitable driver class Action: Consider the following: If you want an embedded database (H2, HSQL or Derby), please put it on the classpath. If you have database settings to be loaded from a particular profile you may need to activate it (no profiles are currently active). Process finished with exit code 1- 1
- 2
- 3
- 4
- 5
- 6
- 7
- 8
- 9
- 10
- 11
- 12
- 13
- 14
- 15
- 16
- 17
- 18
- 19
- 20
- 21
- 22
- 23
- 24
- 25
- 26
- 27
- 28
- 29
- 30
- 31
- 32
3.5 配置网关模块的端口号为88

3.6 配置网关地址:
如果请求路径中有qq就跳转到https://www.qq.com
如果请求路径中有baidu,就跳转到https://www.baidu.com
新建一个
application.yml,内容如下spring: cloud: gateway: routes: - id: test_route uri: https://www.baidu.com predicates: - Query=url,baidu - id: test_route uri: https://www.qq.com predicates: - Query=url,qq- 1
- 2
- 3
- 4
- 5
- 6
- 7
- 8
- 9
- 10
- 11
- 12
- 13
- 14
4、测试如下
浏览器输入地址:
http://localhost:88/hello?url=qq
跳转到(实际访问的地址是 https://www.qq.com/hello 因为qq网址中没有hell):

浏览器输入地址:
http://localhost:88/hello?url=baidu
跳转如下(实际访问的地址是 https://www.baidu.com/hello 因为百度中也没有包含hell的地址):

-
相关阅读:
达梦定时迁移数据
30.nacos做注册中心入门实例(springcloud)
【数据结构与算法】时间复杂度和空间复杂度
Map和Set
springboot+Vue实现分页
帕金森最新研究进展(2022年10月)
8086 汇编笔记(六):更灵活的定位内存地址的方法
Typora~Typora Markdown语法一站式教程
【JavaScript—数组】详解js数组一篇文章吃透js-数组
day02 Nacos集群配置、Feign远程调用和统一网关Gateway
- 原文地址:https://blog.csdn.net/qq_40814139/article/details/136588135
