-
【第三方登录】微信web扫一扫登录步骤
目的
实现用微信扫一扫,登录网站
微信官网文档:微信接口文档特别说明
截止与2023年10月26日前,微信登录需要在 “微信开发平台” 绑定第三方应用或网站,然而,注册、认证、绑定网站走完才能用这个微信扫码登录功能,注意:需要一次性交300元的认证费。一般来说只有企业才做这样的事情,如果是个人建议看看就行。
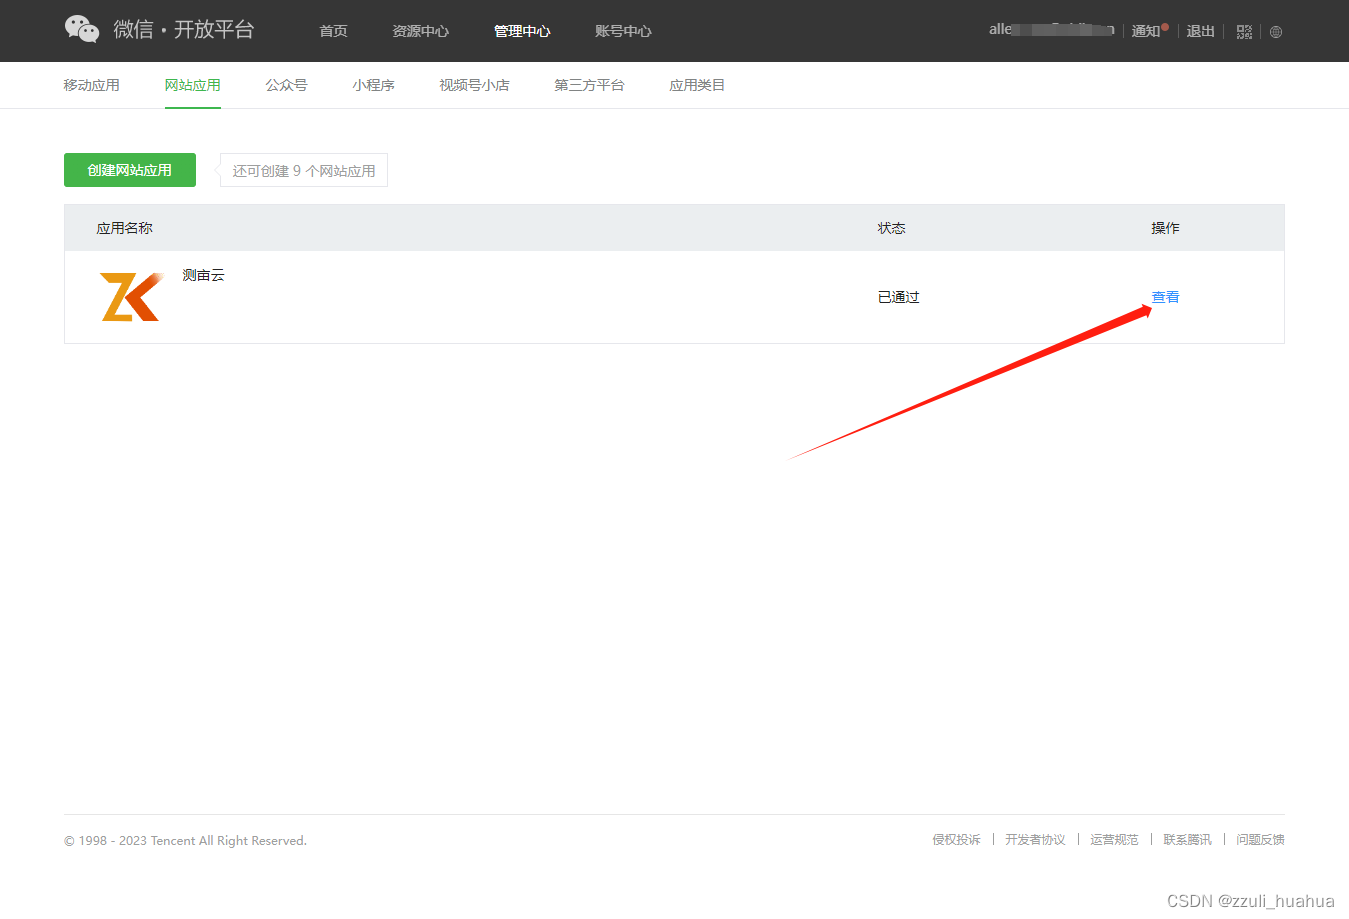
步骤如下图所示:要求
注册一个“微信开发平台”账号、认证账号、绑定一个网站。(三个要求)
如下所示:
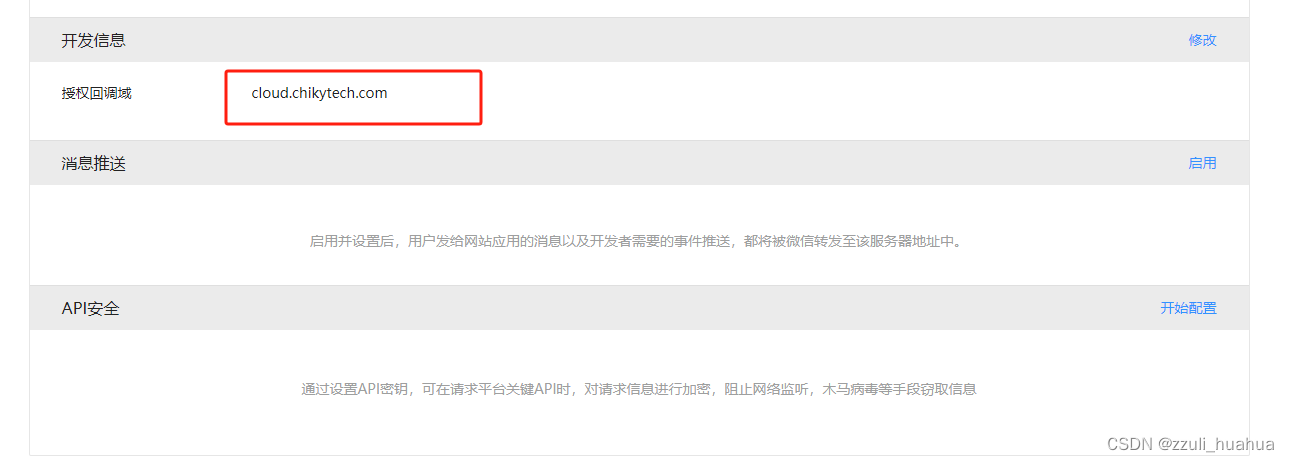
打开如下:注意这个回调域名,要和前端vue上的一致
前端
在vue的index.html文件中添加
<script src="https://res.wx.qq.com/connect/zh_CN/htmledition/js/wxLogin.js">script> <script> !function (a, b, c) { function d(a) { var c = "default" a.self_redirect === !0 ? c = "true" : a.self_redirect === !1 && (c = "false") var d = b.createElement("iframe"), e = "https://open.weixin.qq.com/connect/qrconnect?appid=" + a.appid + "&scope=" + a.scope + "&redirect_uri=" + a.redirect_uri + "&state=" + a.state + "&login_type=jssdk&self_redirect=" + c + '&styletype=' + (a.styletype || '') + '&sizetype=' + (a.sizetype || '') + '&bgcolor=' + (a.bgcolor || '') + '&rst=' + (a.rst || '') e += a.style ? "&style=" + a.style : "", e += a.href ? "&href=" + a.href : "", d.src = e, d.frameBorder = "0", d.allowTransparency = "true", d.sandbox = "allow-scripts allow-top-navigation allow-same-origin", //重点 d.scrolling = "no", d.width = "300px", d.height = "400px" var f = b.getElementById(a.id) f.innerHTML = "", f.appendChild(d) } a.WxLogin = d }(window, document); script>- 1
- 2
- 3
- 4
- 5
- 6
- 7
- 8
- 9
- 10
- 11
- 12
- 13
- 14
- 15
- 16
- 17
- 18
- 19
- 20
- 21
- 22
- 23
- 24
- 25
- 26
- 27
登录页面,记得redirect_uri要与上面微信开放平台的域名一致
// Login.vue <template> <div id="login_container"></div> </template> <script setup> // 生命周期函数 onMounted(() => { initSDK(); }) const initSDK = () => { // eslint-disable-next-line no-undef,no-unused-vars const obj = new WxLogin({ self_redirect: false, id: "login_container", appid: "wx5fe**********bb65", scope: "snsapi_login", redirect_uri: "https://cloud.chikytech.com/data", // 要与上面的回调域名一致,域名后的路径/data不作要求 state: "10099", // 防止xss攻击手段,回调的时候会带回来,回调的时候校验一下最好 style: "", href: "" }); } </script> <style scoped> </style>- 1
- 2
- 3
- 4
- 5
- 6
- 7
- 8
- 9
- 10
- 11
- 12
- 13
- 14
- 15
- 16
- 17
- 18
- 19
- 20
- 21
- 22
- 23
- 24
- 25
- 26
- 27
- 28
页面会出现一个二维码

后端
@GetMapping("/getUnionid") public AjaxResult getUnionid(@RequestParam("code") String code) { String ParamAppid = "appid=" + wxProperties.getAppid(); String ParamSecret = "secret=" + wxProperties.getSecret(); // 用户授权码 String ParamCode = "code=" + code; String url = "https://api.weixin.qq.com/sns/oauth2/access_token?grant_type=authorization_code&" + ParamAppid + "&" + ParamSecret + "&" + ParamCode; String forObject = restTemplate.getForObject(url, String.class); JSONObject jsonObject = JSONObject.parseObject(forObject); if (jsonObject != null) { try { String access_token = jsonObject.get("access_token").toString(); String openid = jsonObject.get("openid").toString(); WXUserInfo wxUserInfo = getWXUserInfo(access_token,openid); HashMap<String, Object> hashMap = new HashMap<>(); hashMap.put("wxUserInfo", wxUserInfo); return AjaxResult.success("操作成功", hashMap); } catch (Exception e) { return AjaxResult.error(); } } return AjaxResult.error(); } /** * 获取微信用户详情信息 * @param access_token 用户凭证 * @param openid 用户id * @return 微信用户实体类 */ private WXUserInfo getWXUserInfo(String access_token,String openid) { WXUserInfo wxUserInfo = new WXUserInfo(); String wx_url = "https://api.weixin.qq.com/sns/userinfo?lang=zh_CN&access_token=" + access_token + "&openid=" + openid; String ob = restTemplate.getForObject(wx_url, String.class); JSONObject job = JSONObject.parseObject(ob); // 封装实体类 if (job != null) { wxUserInfo.setOpenid(job.get("openid").toString()); wxUserInfo.setNickname(job.get("nickname").toString()); wxUserInfo.setSex(job.get("sex").toString()); wxUserInfo.setLanguage(job.get("language").toString()); wxUserInfo.setCity(job.get("city").toString()); wxUserInfo.setPrivilege(job.get("province").toString()); wxUserInfo.setCountry(job.get("country").toString()); wxUserInfo.setHeadimgurl(job.get("headimgurl").toString()); wxUserInfo.setPrivilege(job.get("privilege").toString()); wxUserInfo.setUnionid(job.get("unionid").toString()); } return wxUserInfo; }- 1
- 2
- 3
- 4
- 5
- 6
- 7
- 8
- 9
- 10
- 11
- 12
- 13
- 14
- 15
- 16
- 17
- 18
- 19
- 20
- 21
- 22
- 23
- 24
- 25
- 26
- 27
- 28
- 29
- 30
- 31
- 32
- 33
- 34
- 35
- 36
- 37
- 38
- 39
- 40
- 41
- 42
- 43
- 44
- 45
- 46
- 47
- 48
- 49
- 50
- 51
- 52
- 53
总结
第一步,用户同意微信登录后,获取code
第二步,拿着code可以获取openid、unionid、access_token
第三步,拿着openid和access_token可以获取用户基本信息;后端能拿到个人信息,其实就已经完成了,接下来就看具体的个人业务需求了。祝君工作顺利!
-
相关阅读:
CF1114F Please, another Queries on Array?【线段树+欧拉函数】
不想努力了,有没有不用努力就能考上硕士的方法
【学习笔记】CF573E Bear and Bowling
荧光EEM平滑教程(去除散射)
GD32F4xx 以太网芯片(enc28j60)驱动移植
【延展Extension的使用场景 Objective-C语言】
让你的文档从静态展示到一键部署可操作验证
LLM 位置编码及外推
阿里云服务器的介绍和使用
微服务Eureka注册中心地址配置不生效
- 原文地址:https://blog.csdn.net/qq_43813351/article/details/134058654