-
three.js学习之vR展厅
目标
1、需要会的知识点 three.js的场景,摄像机,渲染器,轨道控制器,坐标轴,场景适配,渲染循环 创建立方缓冲几何体、纹理、3d物体 实现:创建立方几何体,纹理贴图镜面反向渲染,摄像机设置在内部,通过与创建3D 标记物体交互事件切换纹理贴图,创建视频纹理实现展厅视频展示 架构:vite + js- 1
- 2
- 3
- 4
- 5
预览图
实现
一、初始化 vite 项目
-
命令:npm create vite@latest
-
选择 Vanilla 模版
-
选择 JS 语法
-
删除多余的内容

-
清空 main.js 和 style.css 内容
-
index.html 中只留下核心代码

新建如下untils/init.js文件填入内容
初始化场景,摄像机,渲染器,轨道控制器,坐标轴,场景适配,渲染循环- 1
// 目标:初始化 three.js 基础环境 import * as THREE from 'three' import { OrbitControls } from 'three/addons/controls/OrbitControls.js' import { CSS3DRenderer } from 'three/addons/renderers/CSS3DRenderer.js'; export let scene, camera, renderer, controls, css3dRenderer; (function init() { scene = new THREE.Scene() camera = new THREE.PerspectiveCamera(75, window.innerWidth / window.innerHeight, 0.1, 1000) camera.position.z = 0.1 renderer = new THREE.WebGLRenderer({ antialias: true }) renderer.setSize(window.innerWidth, window.innerHeight) document.body.appendChild(renderer.domElement) })(); (function createControls() { controls = new OrbitControls(camera, renderer.domElement) controls.minPolarAngle = 0.25 * Math.PI controls.enableZoom = false })(); (function createHelper() { // const axesHelper = new THREE.AxesHelper(5) // scene.add(axesHelper) })(); (function resizeRender() { window.addEventListener('resize', () => { renderer.setSize(window.innerWidth, window.innerHeight) camera.aspect = window.innerWidth / window.innerHeight camera.updateProjectionMatrix() }) })(); (function create3dRenderer(){ css3dRenderer = new CSS3DRenderer() css3dRenderer.setSize(window.innerWidth, window.innerHeight) css3dRenderer.domElement.style.position = 'fixed' css3dRenderer.domElement.style.left = '0' css3dRenderer.domElement.style.top = '0' css3dRenderer.domElement.style.pointerEvents = 'none' document.body.appendChild(css3dRenderer.domElement) })(); (function renderLoop() { renderer.render(scene, camera) controls.update() css3dRenderer.render(scene, camera) requestAnimationFrame(renderLoop) })();- 1
- 2
- 3
- 4
- 5
- 6
- 7
- 8
- 9
- 10
- 11
- 12
- 13
- 14
- 15
- 16
- 17
- 18
- 19
- 20
- 21
- 22
- 23
- 24
- 25
- 26
- 27
- 28
- 29
- 30
- 31
- 32
- 33
- 34
- 35
- 36
- 37
- 38
- 39
- 40
- 41
- 42
- 43
- 44
- 45
- 46
- 47
- 48
- 49
- 50
main.js - 创建立方缓冲几何体
import { camera, scene } from './utils/init.js' import * as THREE from 'three' function createCube() { const geometry = new THREE.BoxGeometry(1, 1, 1) const material = new THREE.MeshBasicMaterial({ color: 0x00ff00, side: THREE.DoubleSide }) const cube = new THREE.Mesh(geometry, material) cube.scale.set(1, 1, -1) scene.add(cube) return cube }- 1
- 2
- 3
- 4
- 5
- 6
- 7
- 8
- 9
- 10
- 11
- 12
安装项目需要的所有依赖,并启动项目浏览

二、展厅-第一个页面内容展示

目标准备: 1.6 个面纹理图片(镜面翻转) 2.地上热点交互标记(借助 gui 定位位置)- 1
- 2
- 3
const sceneInfoObj = { one: { // 第一个场景里数据 publicPath: 'technology/1/', imgUrlArr: ['px.jpg', 'nx.jpg', 'py.jpg', 'ny.jpg', 'pz.jpg', 'nz.jpg'], markList: [ // 当前空间中所有标记信息对象 { name: 'landMark', imgUrl: 'other/landmark.png', wh: [0.05, 0.05], position: [-0.46, -0.11, -0.11], rotation: [1.42, 0.68, 1.63], targetAttr: 'two' } ] }, } function setMaterialCube(infoObj) { const { publicPath, imgUrlArr, markList } = infoObj const textureLoader = new THREE.TextureLoader() textureLoader.setPath(publicPath) const materialArr = imgUrlArr.map(imgStr => { const texture = textureLoader.load(imgStr) texture.colorSpace = THREE.SRGBColorSpace return new THREE.MeshBasicMaterial({ map: texture, side: THREE.DoubleSide }) }) cubeObj.material = materialArr markList.forEach(markObj => { // 地板标记 if (markObj.name === 'landMark') createLandMark(markObj) }) scene.add(group) } function createLandMark(infoObj) { const { imgUrl, wh, position, rotation, targetAttr } = infoObj const geometry = new THREE.PlaneGeometry(...wh) const material = new THREE.MeshBasicMaterial({ map: (new THREE.TextureLoader()).load(imgUrl), side: THREE.DoubleSide, transparent: true }) const mesh = new THREE.Mesh(geometry, material) mesh.position.set(...position) mesh.rotation.set(...rotation) // 给地上热点标记添加名字-方便点击时进行区分 mesh.name = 'mark' // three.js 3D 物体也可以自定义属性和值(方便后续获取绑定的这个数据) // 绑定这个地上热点标记,要切换到哪个场景信息对象,对应名字属性 mesh.userData.attr = targetAttr group.add(mesh) } setMaterialCube(sceneInfoObj.one) // 默认先渲染第一个场景信息- 1
- 2
- 3
- 4
- 5
- 6
- 7
- 8
- 9
- 10
- 11
- 12
- 13
- 14
- 15
- 16
- 17
- 18
- 19
- 20
- 21
- 22
- 23
- 24
- 25
- 26
- 27
- 28
- 29
- 30
- 31
- 32
- 33
- 34
- 35
- 36
- 37
- 38
- 39
- 40
- 41
- 42
- 43
- 44
- 45
- 46
- 47
- 48
- 49
- 50
- 51
- 52
- 53
- 54
- 55
- 56
- 57
- 58
- 59
- 60
- 61
- 62
- 63
- 64
三、展厅第二个页面

准备 1.准备第二个场景相关数据 2.与 3D 物体交互事件绑定 3.准备清除当前场景热点标记函数 4.切换纹理,重新创建当下场景热点标记- 1
- 2
- 3
- 4
- 5
two: { publicPath: 'technology/2/', imgUrlArr: ['px.jpg', 'nx.jpg', 'py.jpg', 'ny.jpg', 'pz.jpg', 'nz.jpg'], markList: [ { name: 'landMark', imgUrl: 'other/landmark.png', wh: [0.05, 0.05], position: [0.47, -0.2, 0], rotation: [1.48, 0.26, -1.78], targetAttr: 'one' // 目标场景信息对象属性 }, { name: 'landMark', imgUrl: 'other/landmark.png', wh: [0.05, 0.05], position: [-0.46, -0.16, -0.3], rotation: [1.21, 0.78, 0], targetAttr: 'three' // 目标场景信息对象属性 } ] },- 1
- 2
- 3
- 4
- 5
- 6
- 7
- 8
- 9
- 10
- 11
- 12
- 13
- 14
- 15
- 16
- 17
- 18
- 19
- 20
- 21
function clear() { // 清除组内物体 const list = [...group.children] list.forEach(obj => { if (!obj.isCSS3DObject) { obj.geometry.dispose() obj.material.dispose() } group.remove(obj) }) } // 在 setMaterialCube 里先调用 clear 清除当下场景空间中的物体标记(都在 Group 组中) function bindClick() { const rayCaster = new THREE.Raycaster() const pointer = new THREE.Vector2() // 5.2 与 3D 物体交互事件绑定 window.addEventListener('click', e => { pointer.x = (e.clientX / window.innerWidth) * 2 - 1 pointer.y = -(e.clientY / window.innerHeight) * 2 + 1 rayCaster.setFromCamera(pointer, camera) const list = rayCaster.intersectObjects(scene.children) // 查找到我点击的热点标记物体 const obj = list.find(obj => obj.object.name === 'mark') if (obj) { // 提取物体上绑定的自定义属性,切换场景 // 5.4 切换纹理,重新创建当前场景下的热点标记 const infoObj = sceneInfoObj[obj.object.userData.attr] setMaterialCube(infoObj) } }) }- 1
- 2
- 3
- 4
- 5
- 6
- 7
- 8
- 9
- 10
- 11
- 12
- 13
- 14
- 15
- 16
- 17
- 18
- 19
- 20
- 21
- 22
- 23
- 24
- 25
- 26
- 27
- 28
- 29
- 30
- 31
- 32
- 33
- 34
- 35
四、展厅 第三个页面

1.准备第三个场景相关数据 2.与 3D 物体交互事件绑定 3.准备清除当前场景热点标记函数 4.切换纹理,重新创建当下场景热点标记 ps:因为前面流程代码已经准备好了,切换点击->关联场景属性 key 名 -> 清空当下空间物体 -> 重新创建新空间物体和纹理贴图,所以准备好数据就可以切换空间了- 1
- 2
- 3
- 4
- 5
three: { publicPath: 'technology/3/', imgUrlArr: ['px.jpg', 'nx.jpg', 'py.jpg', 'ny.jpg', 'pz.jpg', 'nz.jpg'], markList: [ { name: 'landMark', imgUrl: 'other/landmark.png', wh: [0.05, 0.05], position: [0.4, -0.18, 0.32], rotation: [-1.53, -0.04, -1.26], targetAttr: 'two' // 目标场景信息对象属性 }, { name: 'landMark', imgUrl: 'other/landmark.png', wh: [0.05, 0.05], position: [0.32, -0.16, -0.33], rotation: [1.46, 0.1, -0.17], targetAttr: 'four' // 目标场景信息对象属性 } ] },- 1
- 2
- 3
- 4
- 5
- 6
- 7
- 8
- 9
- 10
- 11
- 12
- 13
- 14
- 15
- 16
- 17
- 18
- 19
- 20
- 21
五、展厅-第四个页面

准备: 1.准备第四个场景相关数据 2.准备创建 DOM 的热点标记函数 (这里采用 DOM 的热点标记,使用 CSS3D 技术)- 1
- 2
- 3
- 4
four: { publicPath: 'technology/4/', imgUrlArr: ['px.jpg', 'nx.jpg', 'py.jpg', 'ny.jpg', 'pz.jpg', 'nz.jpg'], markList: [ { name: 'landMark', imgUrl: 'other/landmark.png', wh: [0.05, 0.05], position: [-0.35, -0.22, 0.4], rotation: [-0.85, -0.45, -1.8], targetAttr: 'three' // 目标场景信息对象属性 }, { name: 'dom', position: [0.49, 0, 0], rotation: [0, -0.5 * Math.PI, 0], targetAttr: 'five', // 目标场景信息对象属性 active(e) { setMaterialCube(sceneInfoObj.five) } } ] },- 1
- 2
- 3
- 4
- 5
- 6
- 7
- 8
- 9
- 10
- 11
- 12
- 13
- 14
- 15
- 16
- 17
- 18
- 19
- 20
- 21
- 22
- 23
function createDomMark(infoObj) { const { position, rotation, active } = infoObj const tag = document.createElement('span') tag.className = 'mark-style' tag.innerHTML = '前进' tag.style.pointerEvents = 'all' tag.addEventListener('click', e => { // 为了保证这个函数通用,回调数据对象中的函数代码 active(e) }) // DOM -> 3D 物体 const tag3d = new CSS3DObject(tag) tag3d.scale.set(1 / 800, 1 / 800, 1 / 800) tag3d.position.set(...position) tag3d.rotation.set(...rotation) group.add(tag3d) }- 1
- 2
- 3
- 4
- 5
- 6
- 7
- 8
- 9
- 10
- 11
- 12
- 13
- 14
- 15
- 16
- 17
- 18
// 修改 setMaterialCube 内代码 markList.forEach(markObj => { // 地板标记 if (markObj.name === 'landMark') createLandMark(markObj) // 原生 DOM 标记 else if (markObj.name === 'dom') createDomMark(markObj) })- 1
- 2
- 3
- 4
- 5
- 6
- 7
六、展厅-第五个页面

1.准备第五个场景相关数据 2.准备创建 Video 的物体函数 (这里采用视频转 3D 物体技术) (浏览器要求当前页面自动播放的视频是静音的,我们可以后续加上声音标签dom或者声音模型 导入进行控制点击声音播放) 3.控制轨道控制器拉动,旋转- 1
- 2
- 3
- 4
- 5
- 6
five: { publicPath: 'technology/5/', imgUrlArr: ['px.jpg', 'nx.jpg', 'py.jpg', 'ny.jpg', 'pz.jpg', 'nz.jpg'], markList: [ { name: 'landMark', imgUrl: 'other/landmark.png', wh: [0.03, 0.03], position: [-0.05, -0.05, 0.4], rotation: [1.21, -0.15, -0.69], targetAttr: 'four' // 目标场景信息对象属性 }, { name: 'video', imgUrl: 'video/movie.mp4', wh: [0.2, 0.1], position: [0.49, 0.04, 0.045], rotation: [0, -0.5 * Math.PI, 0] } ] }- 1
- 2
- 3
- 4
- 5
- 6
- 7
- 8
- 9
- 10
- 11
- 12
- 13
- 14
- 15
- 16
- 17
- 18
- 19
- 20
- 21
function createVideoMark(infoObj) { const { imgUrl, wh, position, rotation } = infoObj // 原生 video 承载视频 const video = document.createElement('video') video.src = imgUrl video.muted = true video.addEventListener('loadedmetadata', () => { video.play() }) const plane = new THREE.PlaneGeometry(...wh) const material = new THREE.MeshBasicMaterial({ map: (new THREE.VideoTexture(video)) }) const mesh = new THREE.Mesh(plane, material) mesh.position.set(...position) mesh.rotation.set(...rotation) group.add(mesh) }- 1
- 2
- 3
- 4
- 5
- 6
- 7
- 8
- 9
- 10
- 11
- 12
- 13
- 14
- 15
- 16
- 17
- 18
- 19
markList.forEach(markObj => { // 地板标记 if (markObj.name === 'landMark') createLandMark(markObj) // 原生 DOM 标记 else if (markObj.name === 'dom') createDomMark(markObj) // Video 标记 else if (markObj.name === 'video') createVideoMark(markObj) })- 1
- 2
- 3
- 4
- 5
- 6
- 7
- 8
git项目地址
https://github.com/geyixia/vr-memorial-hall
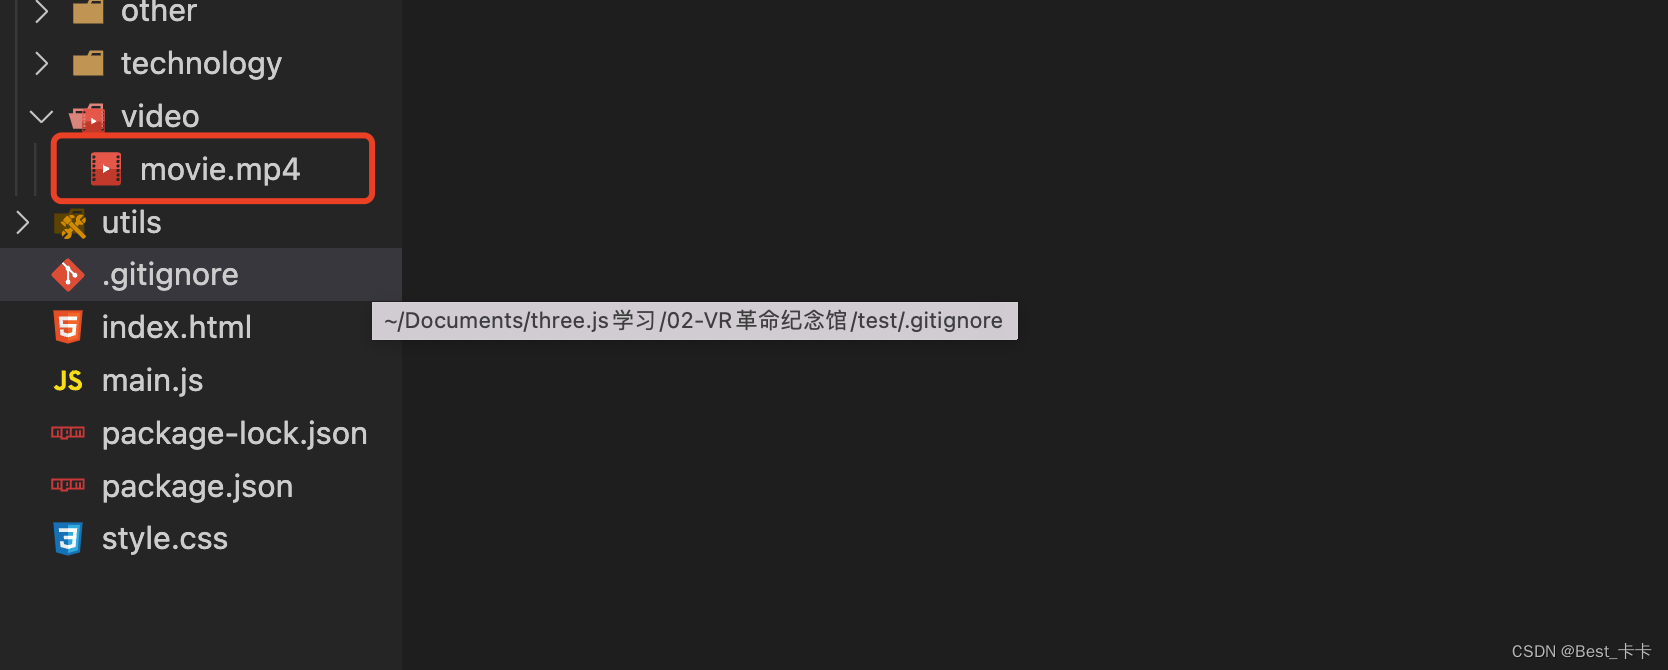
注意:video文件超过100M, git push 不上去,我没加git扩展
所以clone下来项目后需要你自己加上一个video
鸣谢-广告
-
相关阅读:
狂神。SpringBoot员工管理系统项目练习。
全面解读 AWS Private 5G 的革新理念
【前端必会】不知道webpack插件? webpack插件源码分析BannerPlugin
常见数据类型
前端精度问题 (id 返回的和传给后端的不一致问题)
【自学HTML笔记第3篇】媒体标签
Docker 安装
基于ffmpeg 对音视频进行编解码存在内存泄露问题记录
辽宁石油化工大学计算机考研资料汇总
研发效能工程实践-精益需求管理
- 原文地址:https://blog.csdn.net/weixin_43909743/article/details/133759587
