-
关于ubuntu开发环境配置
关于ubuntu开发环境配置
关于配置ubuntu自带输入法快简介的问题
在这里配置

首先是开发环境
可以在旁边的softwate市场中搜索你需要的插件

然后安装docker,在ubuntu中可以简单的按照官方的教程
Install using the Apt repository Before you install Docker Engine for the first time on a new host machine, you need to set up the Docker repository. Afterward, you can install and update Docker from the repository. Set up Docker's Apt repository. # Add Docker's official GPG key: sudo apt-get update sudo apt-get install ca-certificates curl gnupg sudo install -m 0755 -d /etc/apt/keyrings curl -fsSL https://download.docker.com/linux/ubuntu/gpg | sudo gpg --dearmor -o /etc/apt/keyrings/docker.gpg sudo chmod a+r /etc/apt/keyrings/docker.gpg # Add the repository to Apt sources: echo \ "deb [arch="$(dpkg --print-architecture)" signed-by=/etc/apt/keyrings/docker.gpg] https://download.docker.com/linux/ubuntu \ "$(. /etc/os-release && echo "$VERSION_CODENAME")" stable" | \ sudo tee /etc/apt/sources.list.d/docker.list > /dev/null sudo apt-get update Note If you use an Ubuntu derivative distro, such as Linux Mint, you may need to use UBUNTU_CODENAME instead of VERSION_CODENAME. Install the Docker packages. To install the latest version, run: $ sudo apt-get install docker-ce docker-ce-cli containerd.io docker-buildx-plugin docker-compose-plugin Verify that the Docker Engine installation is successful by running the hello-world image. $ sudo docker run hello-world This command downloads a test image and runs it in a container. When the container runs, it prints a confirmation message and exits. You have now successfully installed and started Docker Engine.- 1
- 2
- 3
- 4
- 5
- 6
- 7
- 8
- 9
- 10
- 11
- 12
- 13
- 14
- 15
- 16
- 17
- 18
- 19
- 20
- 21
- 22
- 23
- 24
- 25
- 26
- 27
- 28
- 29
- 30
- 31
- 32
- 33
- 34
- 35
- 36
- 37

docker-compose可以参考我之前写的文章
为Linux安装软件包时后面标注的arm,aarch到底是什么玩意儿以二进制安装docker-compose为例_生生世世是所说的的博客-CSDN博客

默认的终端长这样,简直是不堪入目

本人使用ohmyzsh
首先确保已经安装了zsh
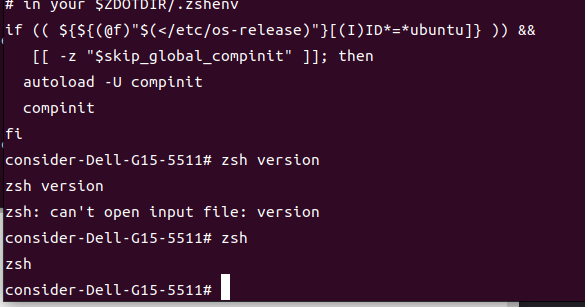
这边直接使用wget脚本
sh -c "$(wget -O- https://raw.githubusercontent.com/ohmyzsh/ohmyzsh/master/tools/install.sh)"- 1
提醒是否要把默認終端接換成,這邊選是
然后设置下终端主题
这边设置ZSH_THEME=“agnoster”

点击右上角的三条缸,配置下首选项,把背景色改成透明

系统主题的配置
-
安装美化工具
sudo apt-get install -y gnome-tweaks gnome-shell-extensions gnome-tweak-tool
安装过后应用程序里会出现tweak(优化),在工具文件夹里,还有一个扩展程序。 -

-
软件商店搜索安装如下图:
-

-
打开后点击,可以设置系统主题
-

-
本人就是简单的设了下背景图片的展现方式,我还怪喜欢这只小水母的
谷歌拼音繁體的解決辦法
本人習慣用fctix使用google拼音後打出來的全市繁體字
把光标放到文本输入栏中,然后输入 ctrl+shift+f,即可看到简繁转换的提示
](https://1000bd.com/contentImg/2024/03/17/200936398.png)
-
相关阅读:
软信天成:AI驱动,化解企业数据的隐私之痛
TikTok营销指南 分享TikTok电商商家成功变现的5个技巧
Java EnumSet clone()方法具有什么功能
区间预测 | MATLAB实现QRCNN-BiLSTM卷积双向长短期记忆神经网络分位数回归时间序列区间预测
基于图模型及SSL的推荐系统历年经典论文整理分享
CNN卷积层:ReLU函数
230. 二叉搜索树中第K小的元素 Python
领域驱动设计-领域建模
如何下载安装 WampServer 并结合 cpolar 内网穿透,轻松实现对本地服务的公网访问
Android里获取正在前端运行的Activity的包名
- 原文地址:https://blog.csdn.net/qq_42901723/article/details/133215495
