-
SpringSecurity入门
简介
官网地址:https://spring.io/projects/spring-security#overview
-
Spring家族当中,一个安全管理框架 -
Shiro也是一个安全框架,提供了很多安全功能。Shiro比较老,旧的项目当中,可能还在使用。上手还挺简单
-
在新项目当中,一线互联网大型项目,都是使用SpringSecurity
认证、鉴权
一般的web项目当中,总会有登陆认证和鉴权的需求但是大家一定要区分开。
- 认证:验证当前访问的用户是不是本系统中的用户。确定是哪一个具体的用户。
- 鉴权:经过认证,判断当前登陆用户有没有权限来执行某个操作。
所以说,安全框架SpringSecurity 当中,必定会有认证和鉴权的两大核心功能
入门
1、创建springboot web项目
<project xmlns="http://maven.apache.org/POM/4.0.0" xmlns:xsi="http://www.w3.org/2001/XMLSchema-instance" xsi:schemaLocation="http://maven.apache.org/POM/4.0.0 https://maven.apache.org/xsd/maven-4.0.0.xsd"> <modelVersion>4.0.0modelVersion> <parent> <groupId>org.springframework.bootgroupId> <artifactId>spring-boot-starter-parentartifactId> <version>2.6.5version> <relativePath/> parent> <groupId>com.liminggroupId> <artifactId>springsecuritydemoartifactId> <version>0.0.1-SNAPSHOTversion> <name>springsecuritydemoname> <description>springsecuritydemodescription> <properties> <java.version>1.8java.version> properties> <dependencies> <dependency> <groupId>org.springframework.bootgroupId> <artifactId>spring-boot-starter-webartifactId> dependency> <dependency> <groupId>org.projectlombokgroupId> <artifactId>lombokartifactId> <optional>trueoptional> dependency> <dependency> <groupId>org.springframework.bootgroupId> <artifactId>spring-boot-starter-testartifactId> <scope>testscope> dependency> dependencies> <build> <plugins> <plugin> <groupId>org.springframework.bootgroupId> <artifactId>spring-boot-maven-pluginartifactId> <configuration> <excludes> <exclude> <groupId>org.projectlombokgroupId> <artifactId>lombokartifactId> exclude> excludes> configuration> plugin> plugins> build> project>- 1
- 2
- 3
- 4
- 5
- 6
- 7
- 8
- 9
- 10
- 11
- 12
- 13
- 14
- 15
- 16
- 17
- 18
- 19
- 20
- 21
- 22
- 23
- 24
- 25
- 26
- 27
- 28
- 29
- 30
- 31
- 32
- 33
- 34
- 35
- 36
- 37
- 38
- 39
- 40
- 41
- 42
- 43
- 44
- 45
- 46
- 47
- 48
- 49
- 50
- 51
- 52
- 53
- 54
- 55
- 56
- 57
- 58
2、创建controller
package com.liming.springsecuritydemo.controller; import org.springframework.web.bind.annotation.GetMapping; import org.springframework.web.bind.annotation.RequestMapping; import org.springframework.web.bind.annotation.RestController; /** * @author 黎明 * @date 2023/5/27 20:39 * @version 1.0 */ @RestController @RequestMapping("/demo") public class SpringSecurityDemo { @GetMapping("/hello") public String hello(){ return "hello springsecurity"; } }- 1
- 2
- 3
- 4
- 5
- 6
- 7
- 8
- 9
- 10
- 11
- 12
- 13
- 14
- 15
- 16
- 17
- 18
- 19
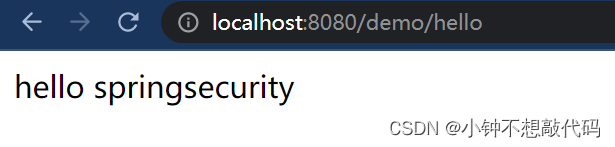
3、启动 测试 访问 :http://localhost:8080/demo/hello

4、引入SpringSecurity
<dependency> <groupId>org.springframework.bootgroupId> <artifactId>spring-boot-starter-securityartifactId> dependency>- 1
- 2
- 3
- 4
- 5
5、测试:http://localhost:8080/demo/hello
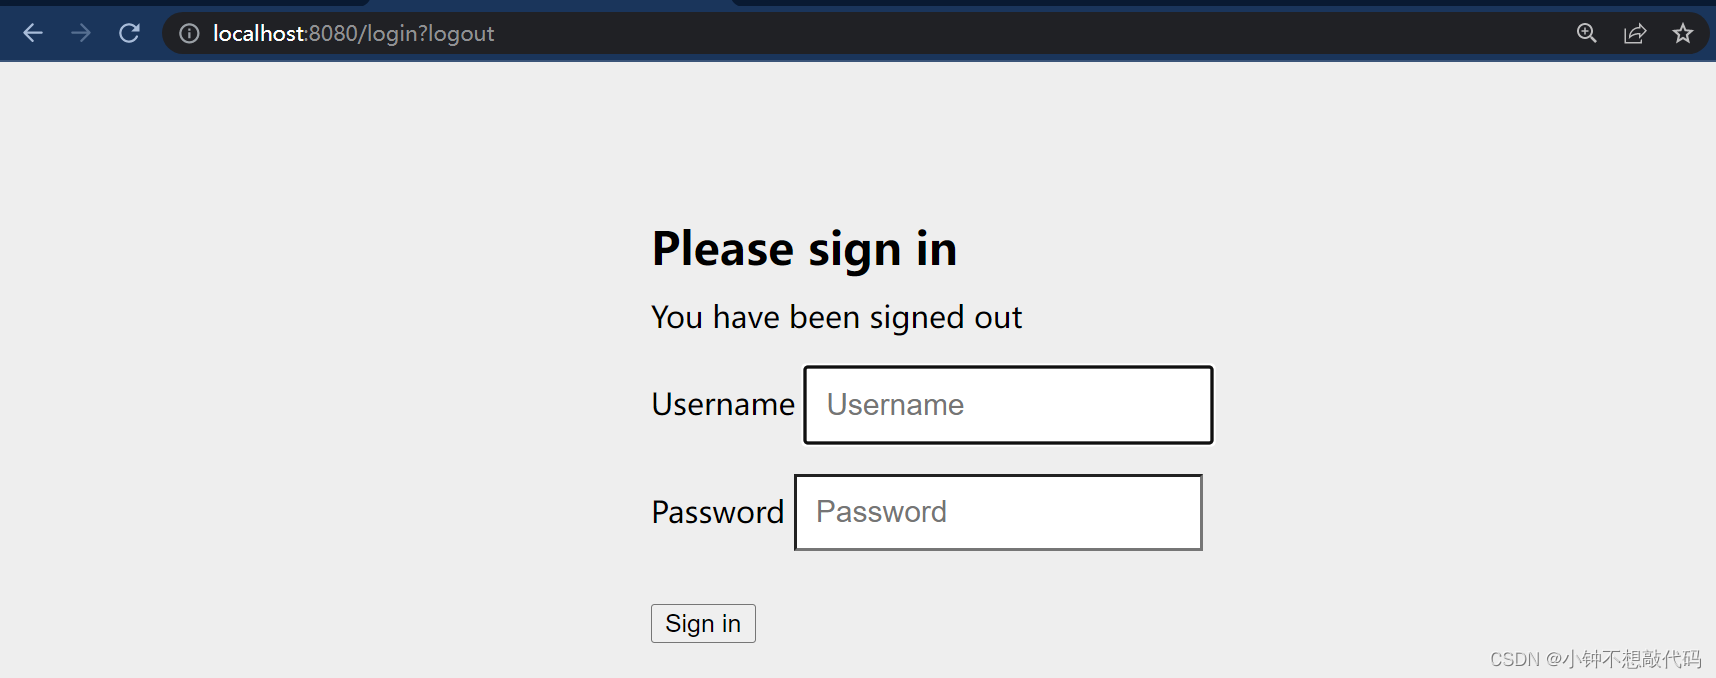
SpringSecurity 自带的登陆页面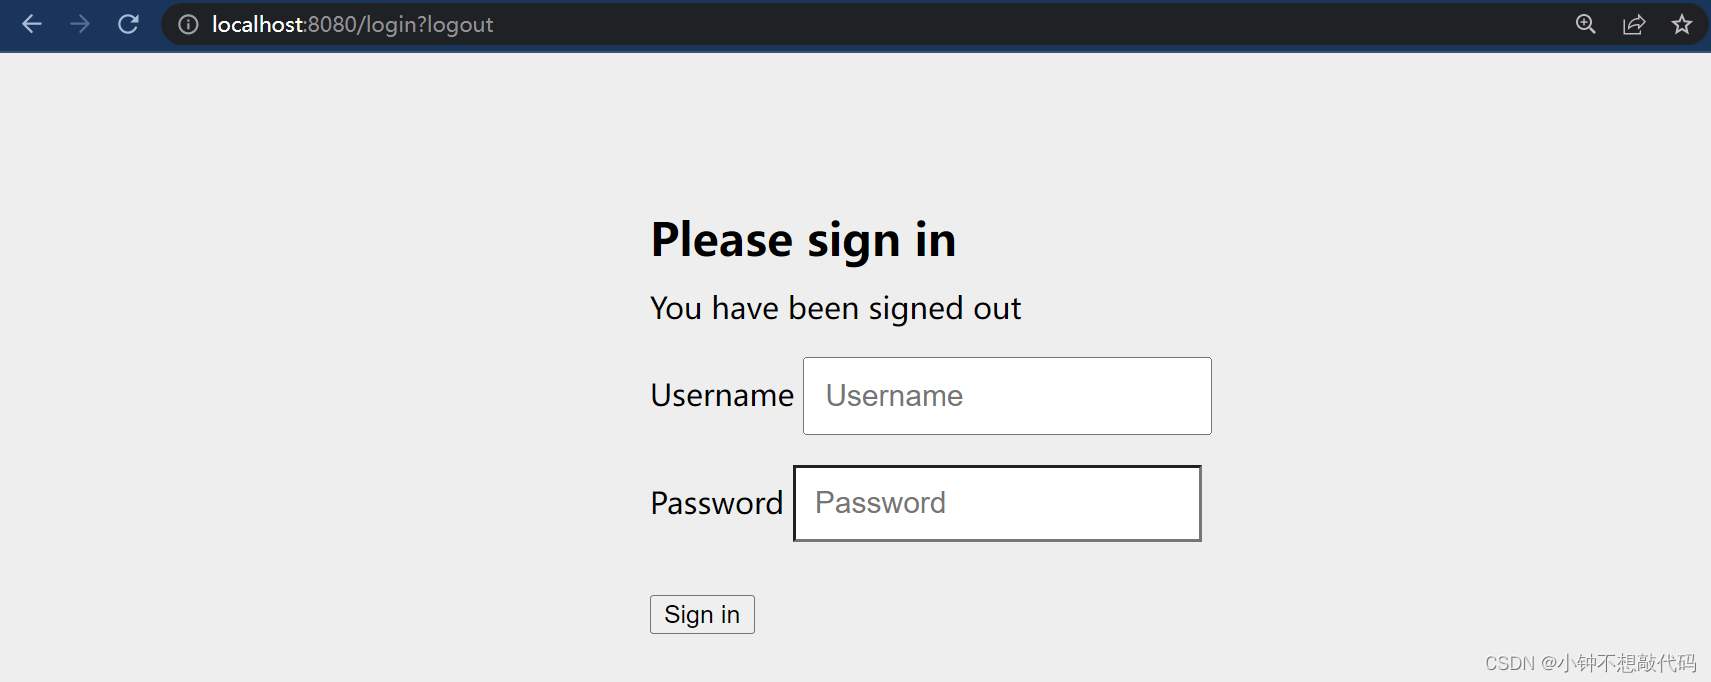
输入自带默认用户名
user和密码(控制台)
就能访问到数据了
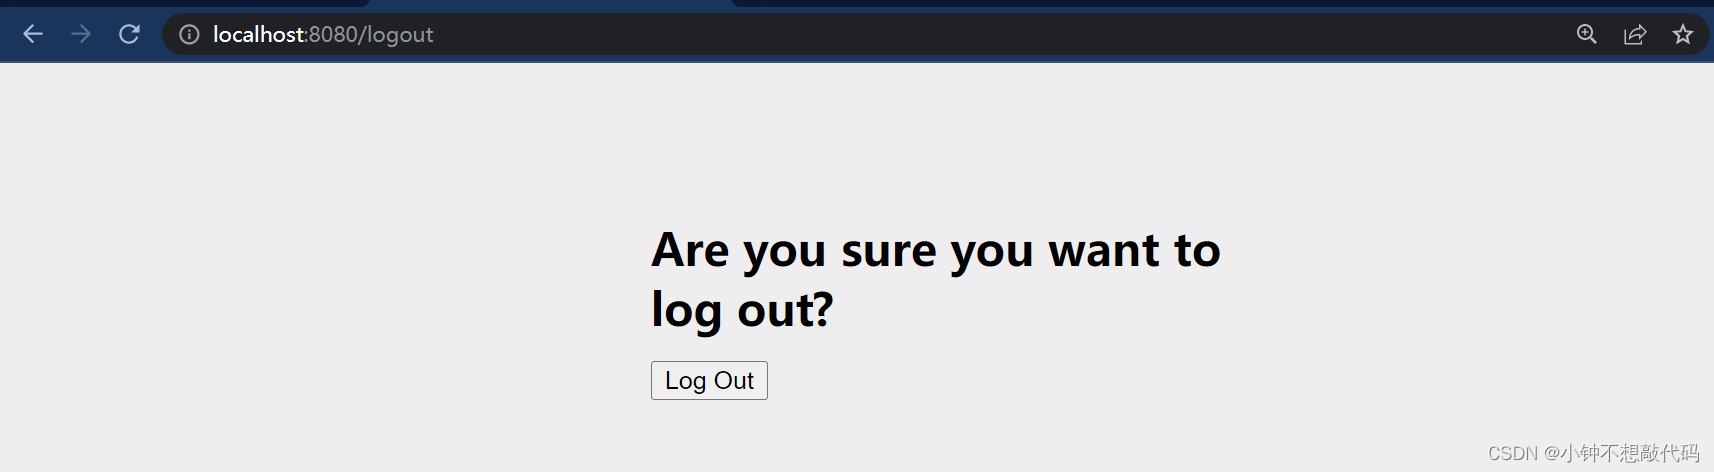
6、自带退出:http://localhost:8080/logout
-
-
相关阅读:
【BOOST C++】教程2:最简程序段(Hello World)
「AI人工智能」关于AI的灵魂发问
设计原则——设计模式
基于RxJava框架开发的新闻APP设计与实现
Java23种设计模式
数据结构——二叉树的基本概念及顺序存储(堆)
微信小程序怎么隐藏顶部导航栏(navigationBar)变透明的解决方案
docker仓库的搭建以及使用
小程序笔记2
PHP学习之路——基本语法
- 原文地址:https://blog.csdn.net/weixin_46370595/article/details/130906533
