-
BGR 顺序中的 OpenCV-color
- import os
- import numpy as np
- import argparse
- import cv2
- import matplotlib.pyplot as plt
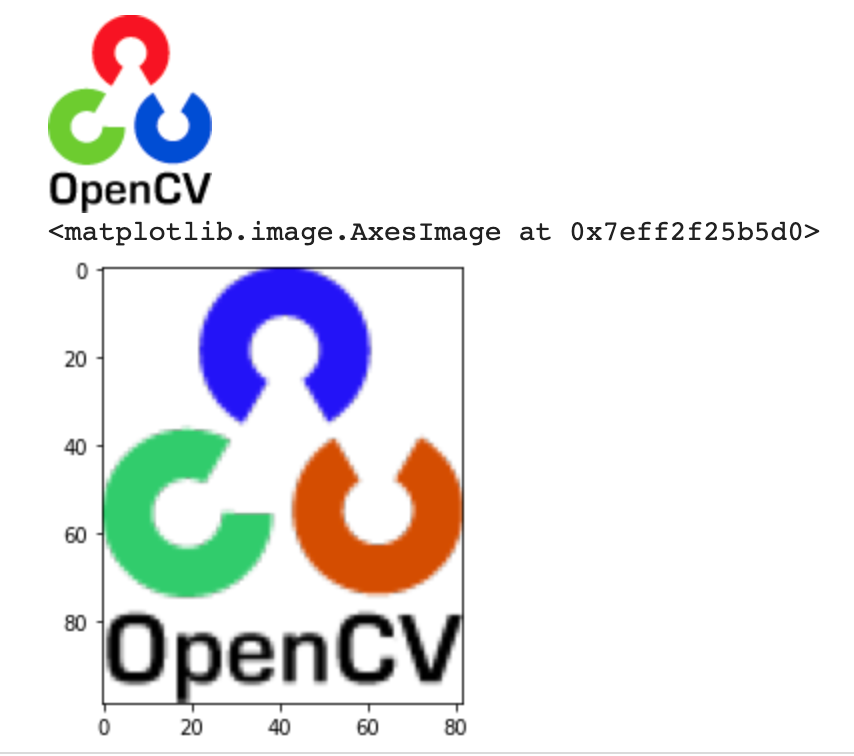
原始图片如下所示:

OpenCV 假设图像是 BGR 通道顺序。OpenCV 的 imread、imwrite 和 imshow 都使用 BGR 顺序,所以如果我们使用 cv2.imshow 显示图像,图像不会改变。但它不适用于 matplotlib。
大多数图像处理库都使用 RGB 排序,例如 matplotlib,因此如果使用
plt.imshow,logo的颜色会发生变化。- img = cv2.imread("logo.png")
- # show the image by cv2
- # The cv2.imshow() and cv.imshow() functions from the opencv-
- python package are incompatible with Jupyter notebook;
- # see https://github.com/jupyter/notebook/issues/3935.
- # As a replacement, you can use the following function:
- from google.colab.patches import cv2_imshow
- cv2_imshow(img)

- # show the image by matplotlib
- plt.subplot(111)
- plt.imshow(img)
- plt.title("Original")

如果我们想在 OpenCV 中以 RGB 顺序读取图像,我们可以使用:
img = cv2.cvtColor(img, cv2.COLOR_BGR2RGB)- # read images in RGB order in OpenCV
- img_rgb = cv2.cvtColor(img, cv2.COLOR_BGR2RGB)
- from google.colab.patches import cv2_imshow
- cv2_imshow(img_rgb)
- plt.imshow(img_rgb)

cv2.imread(FILENAME, FLAG)
FLAG有一些值:
cv2.IMREAD_UNCHANGED:按原样从源读取图像(带 alpha 通道)。如果源图像是 RGB,它将图像加载到具有红色、绿色和蓝色通道的数组中。
cv2.IMREAD_COLOR:将图像转换为3通道BGR彩色图像,但没有透明通道
cv2.IMREAD_GRAYSCALE:将图像转换为单通道灰度图像
在此处查看更多标志:https://docs.opencv.org/3.4/d8/d6a/group__imgcodecs__flags.html#ga61d9b0126a3e57d9277ac48327799c80
- img = cv2.imread('logo.png', cv2.IMREAD_UNCHANGED)
- cv2_imshow(img)
- plt.imshow(img)
- img = cv2.imread('logo.png', cv2.IMREAD_COLOR)
- cv2_imshow(img)
- plt.imshow(img)

- img = cv2.imread('logo.png', cv2.IMREAD_GRAYSCALE)
- cv2_imshow(img)

让我们看一下BGR频道。如果我们想打印整个数组,那么设置
np.set_printoptions(threshold=np.inf),并在打印数组后将其设置为默认值。np.set_printoptions(threshold=1000- img = cv2.imread('logo.png', cv2.IMREAD_COLOR)
- cv2_imshow(img)
- b = img[:,:,0] # get blue channel
- g = img[:,:,1] # get green channel
- r = img[:,:,2] # get red channel
- print(b)

- np.set_printoptions(threshold=np.inf)
- print(b)
- np.set_printoptions(threshold=1000)
- # the output is really long so I won't print it here.
现在让我们将其转换为RGB通道。即使我们以 RGB 顺序读取图像,但如果我们用
cv2.imshow显示图像,logo颜色也会发生变化,因为它适用于BGR顺序。plt.imshow显示图像的原始颜色,因为它也适用于RGB顺序。- # read images in RGB order in OpenCV
- img_rgb = cv2.cvtColor(img, cv2.COLOR_BGR2RGB)
- from google.colab.patches import cv2_imshow
- cv2_imshow(img_rgb)
- plt.imshow(img_rgb)

- r1 = img_rgb[:,:,0] # get blue channel
- g1 = img_rgb[:,:,1] # get green channel
- b1 = img_rgb[:,:,2] # get red channel
- (img[:,:,0] == img_rgb[:,:,2]).all()
Output: True当你尝试在 OpenCV 中绘制一个矩形框时,请注意矩形的颜色也是按BGR顺序排列的。
- # read the image
- image = cv2.imread('logo.png')
- # represents the top left corner of rectangle
- start_point = (5, 5)
- # represents the bottom right corner of rectangle
- end_point = (20, 20)
- # choose the rectangle color in BGR
- color = (0, 0, 255) # red
- # thickness of lines that make up the rectangle is 2 px
- thickness = 2
- # draw a rectangle with red line borders of thickness of 2 px
- image = cv2.rectangle(image, start_point, end_point, color, thickness)
- # Displaying the image
- cv2_imshow(image)

☆ END ☆
如果看到这里,说明你喜欢这篇文章,请转发、点赞。微信搜索「uncle_pn」,欢迎添加小编微信「 woshicver」,每日朋友圈更新一篇高质量博文。
↓扫描二维码添加小编↓

-
相关阅读:
Linux网络:HTTP协议
Redis学习记录------Redis6持久化操作(十)
RabbitMQ的Confirm机制
侧链到底是什么
java系列之 页面打印出 [object Object],[object Object]
Go语言各种扩容机制(防止混淆)
Vue项目预览
一文教会你如何用 Python 分割合并大文件
力扣(LeetCode)54. 螺旋矩阵(C++)
《Head First HTML5 javascript》第9章 认识对象
- 原文地址:https://blog.csdn.net/woshicver/article/details/127711643
